I’ve created a couple of DIY Halloween crafts so far this month. There was my repurposed Christmas Wreath and the creepy but fun Halloween Snow Globes. Creating some additional wall art has been the easiest craft so far. It is in fact so easy, that writing about it feels a bit silly. Then again, this is 2020 and silly is what we need more of at this point. So here goes!
Thrift Store Frames
I am a sucker for thrift store frames. Even if I don’t find anything else to buy on my (now less frequent) thrift store trips, I will always walk out with at least one frame. I will take them apart and add new artwork, sometimes things that I create myself (even though I’m not an artist) or I would spray-paint the frames and display family pictures. I’ve made laundry room signs out of them and I have used them for game room decorations. It is becoming a long list for sure.
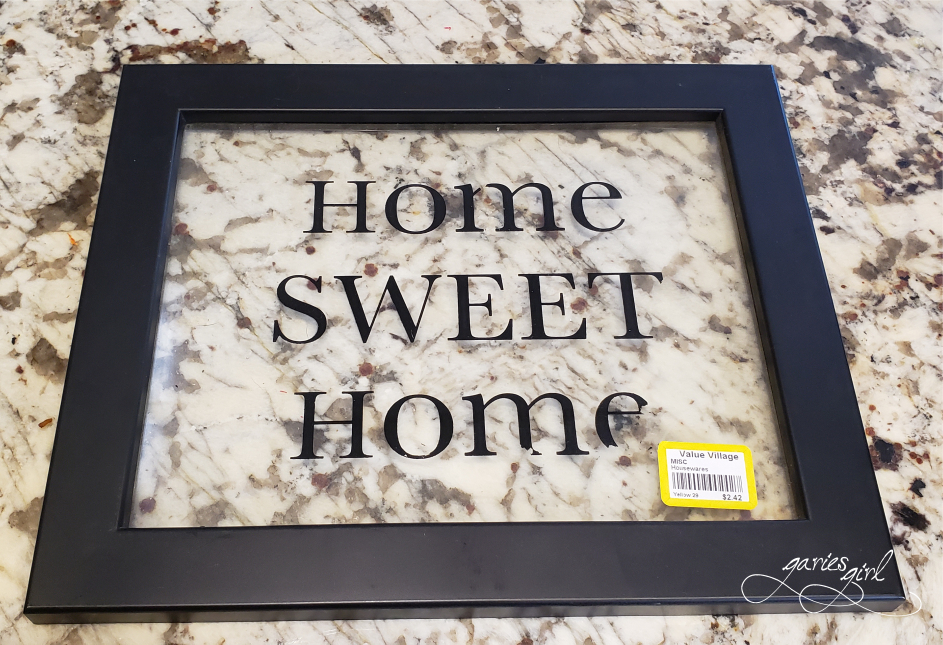
On one of my pre-COVID trips back in February, I picked up this “Home Sweet Home” frame. It doesn’t have a backing and have the letters printed on the glass itself. This type of décor item is not my style at all, but at the time, I thought I would scratch off the letters and use the frame to display something else. My little frame collection lives in my office and when it was time to decorate for Halloween, this guy caught my eye again.
Add a Touch of Halloween
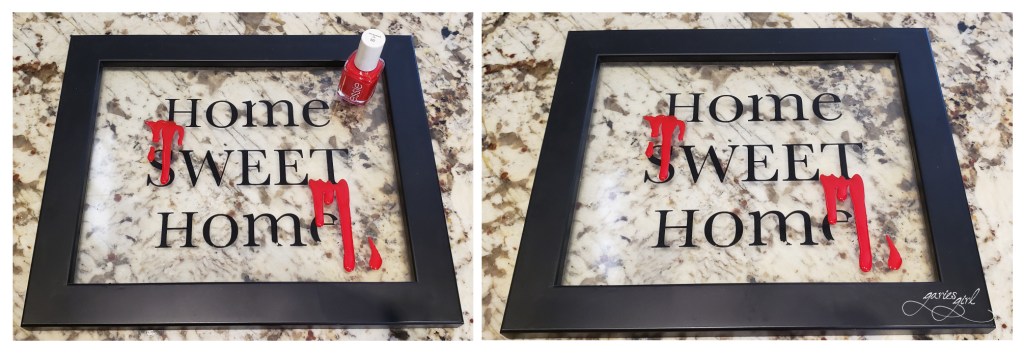
I decided to hang this one with saying and all in my hallway, but wanted to add a little bit of creepiness to it. Out came my red nail polish. Yes, you read that correctly! I propped the frame up on my kitchen counter and just poured a bit of the red stuff in two areas directly on the glass. Since it was propped up, it immediately started to drip down – thanks gravity! All I needed to do was decide when it looked good enough, place it flat on the counter and give it time to dry.
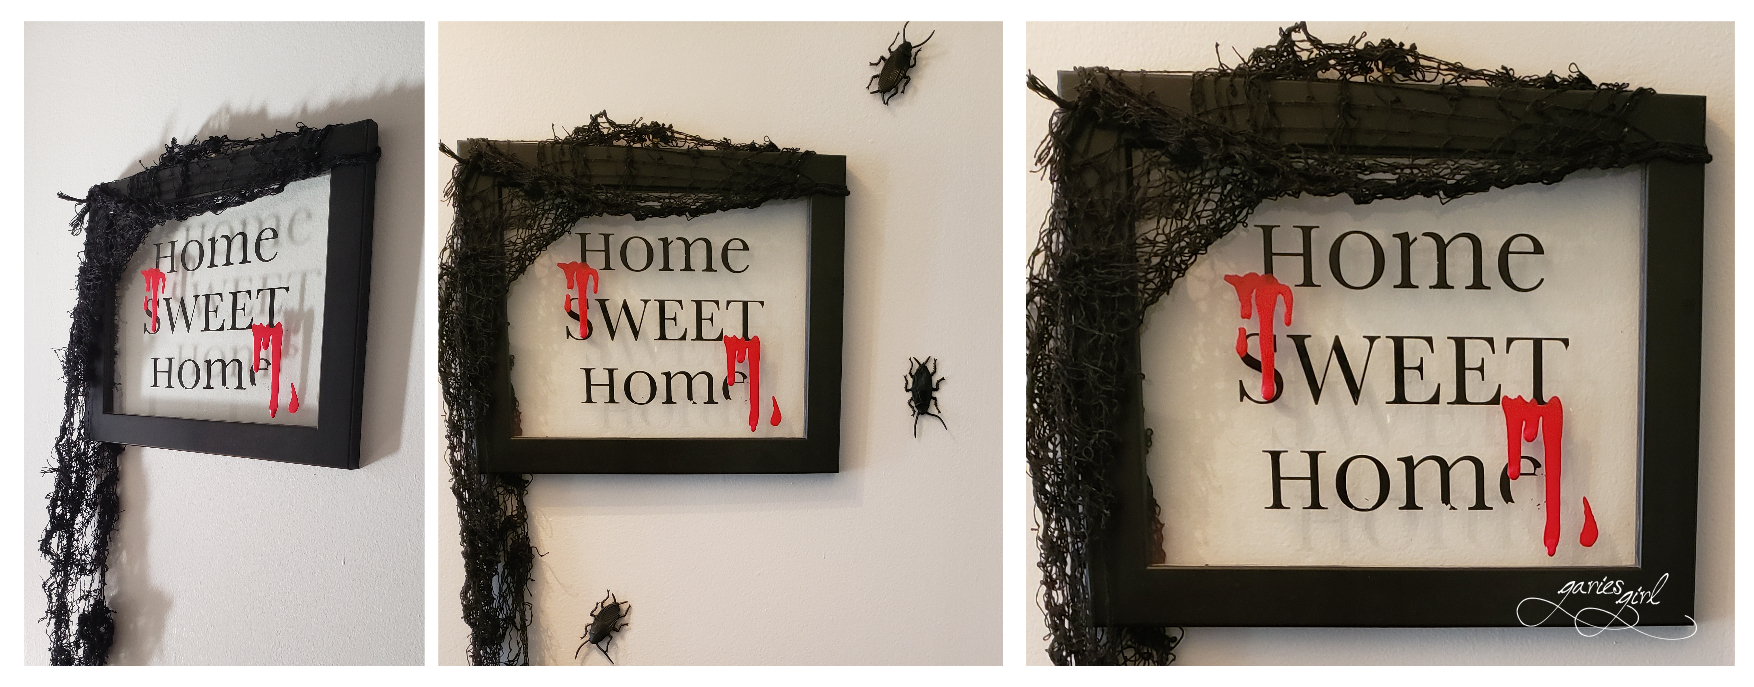
After the nail polish was dry, I hung it on the wall, added some black Halloween cloth and three plastic cockroaches. All done!
Add Photos or Images
This black frame has been part of my Halloween decorations for a while now. I printed some creepy images from the internet for it and since it doesn’t have any glass in it, just stuck the paper images in as is. Every year I just take it out, hang it in place of my normal artwork and add some plastic insects or pests around it.
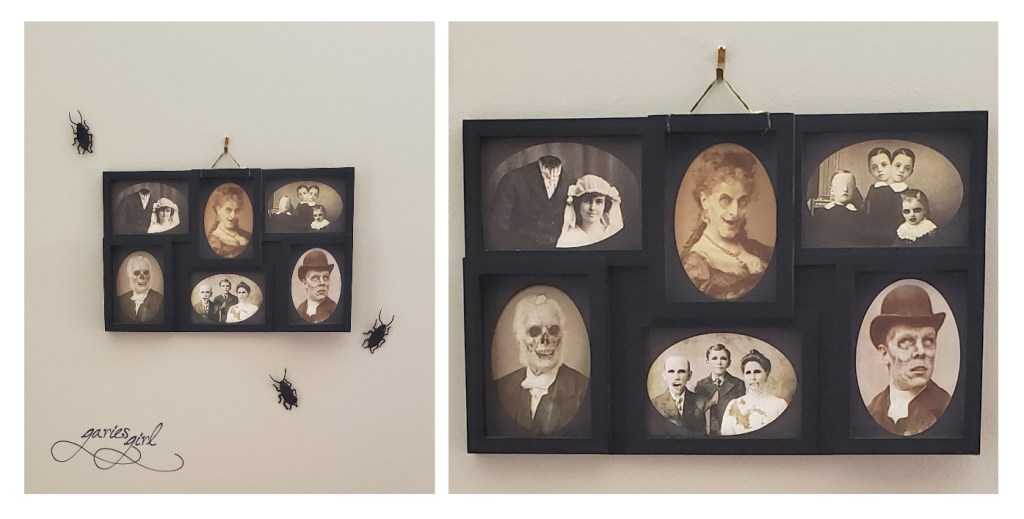
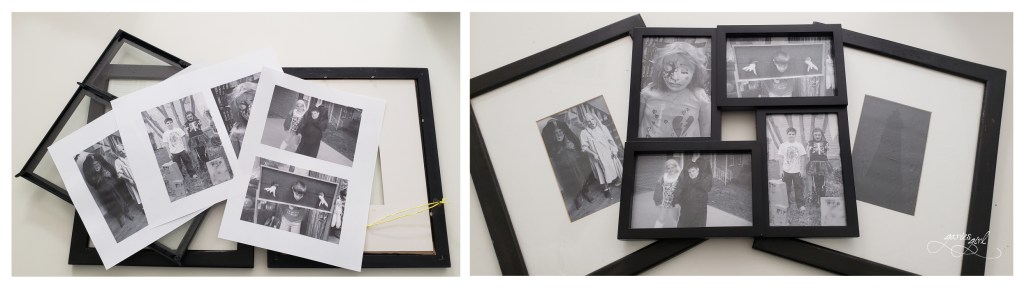
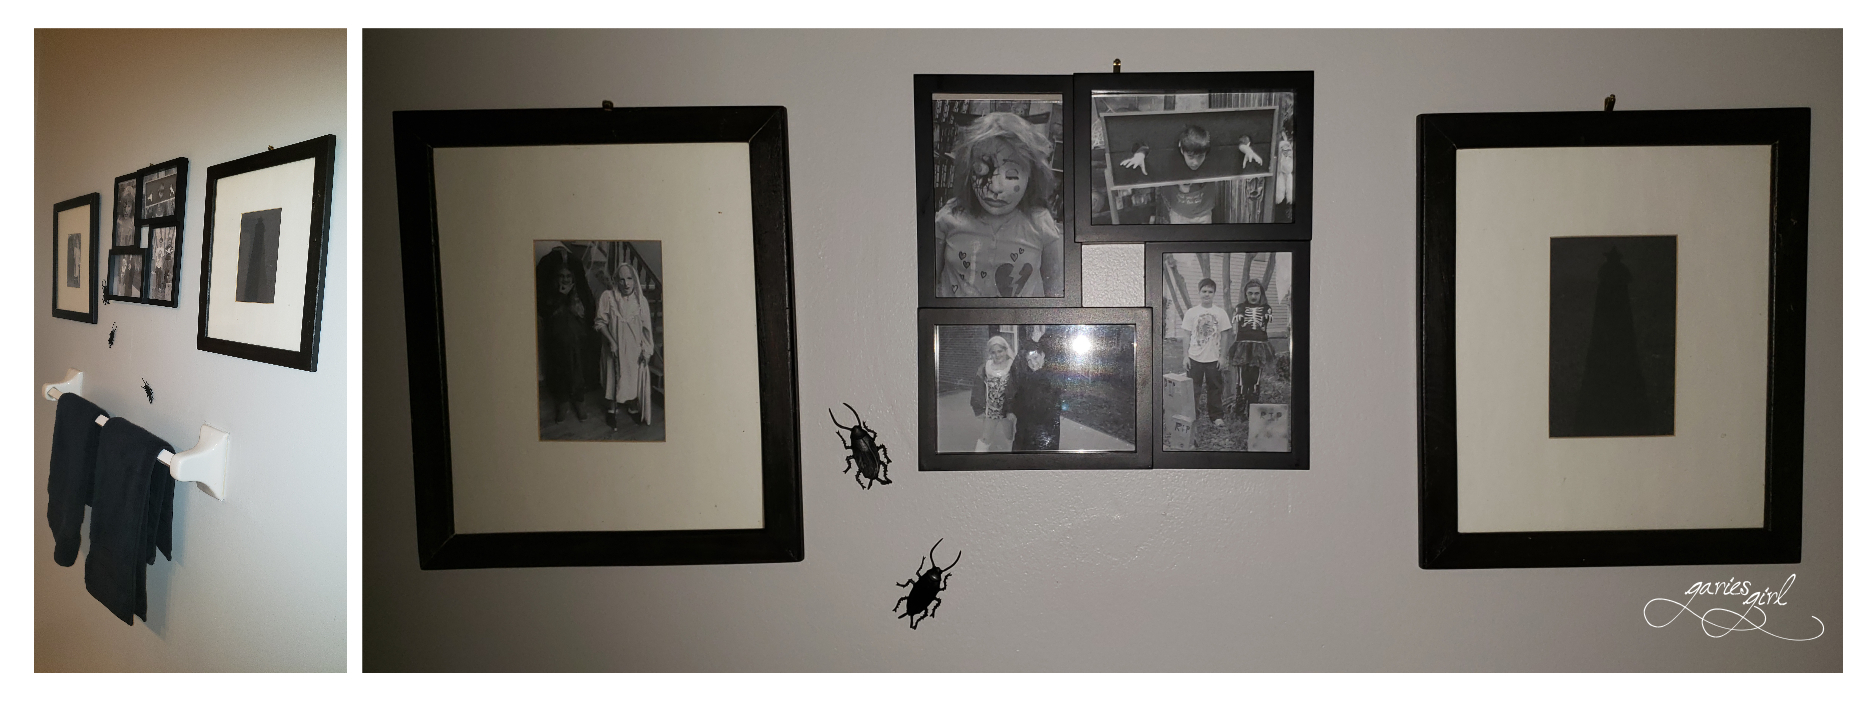
This year, I also created some new pieces. I used three of my older frames (they came from South Africa with our move almost 10 years ago, and they weren’t new when we moved here). I measured the openings, resized some digital photos of past Halloweens and printed them in black and white, right on my home printer. I used regular paper – no need to be fancy for this type of craft. Of course, if you have the actual photos, or prefer full color versions, by all means insert those.
I replaced my guest bath artwork with them and had a lot of fun waiting for my family to notice the change.
And there you have it! Another way to decorate for Halloween while spending little to no money. Speaking of little money, we also created a Halloween Candy Chute!
Of course, if you are looking for some fun items online, I’ve compiled a list of my 10 favorites and you can read about them by following this link: Halloween Must Haves.


One thought