We spent a big chunk of this past weekend getting ready for Halloween. I wanted to test our one-way path, and our candy chute and also get some pictures of what it would all look like at night. I definitely drove my family crazy most of Saturday – when I have an idea in my head I just can’t be stopped until I can see the end result. I pretended to not see a lot of eye-rolling…
I am very excited indeed for this year’s Halloween. This is the most yard decorations we have ever done. And we will comply with Social Distancing rules! I will be sharing all our Halloween 2020 plans soon.
DIY Halloween Snow Globe
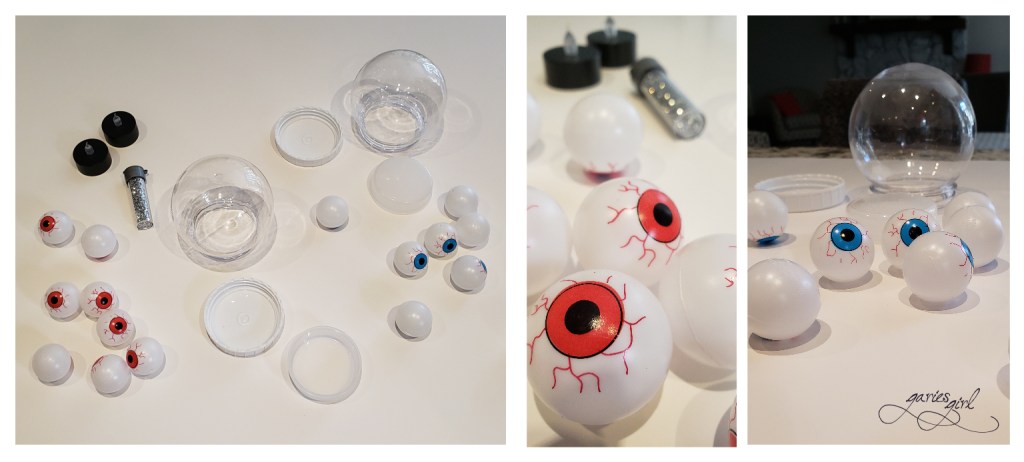
As part of the preparation, I also did a quick craft project and I think this will be the first of many such crafts. I created some creepy floating eyeball/skull decorations, using items from a recent shopping trip to Dollar Tree and my trusty glue gun.
Project List
- Clear Snow Globe Ornaments
- Plastic Eye Balls
- Small Plastic Skulls
- Battery Operated Tea Lights
- Food Coloring
- Glitter
- Glue Gun
Creating your Halloween Snow Globe
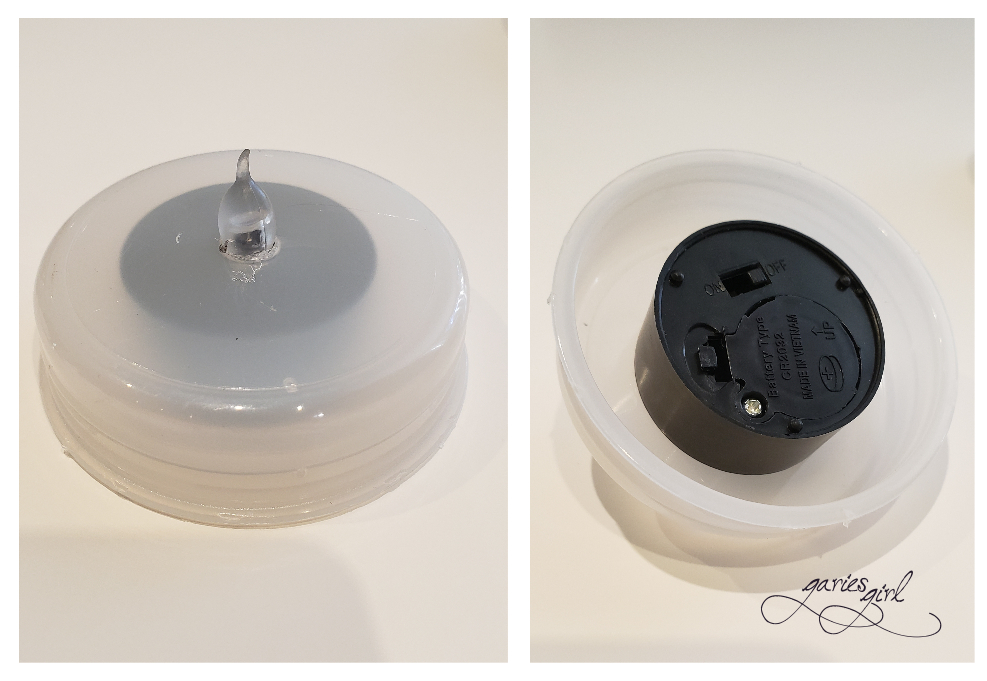
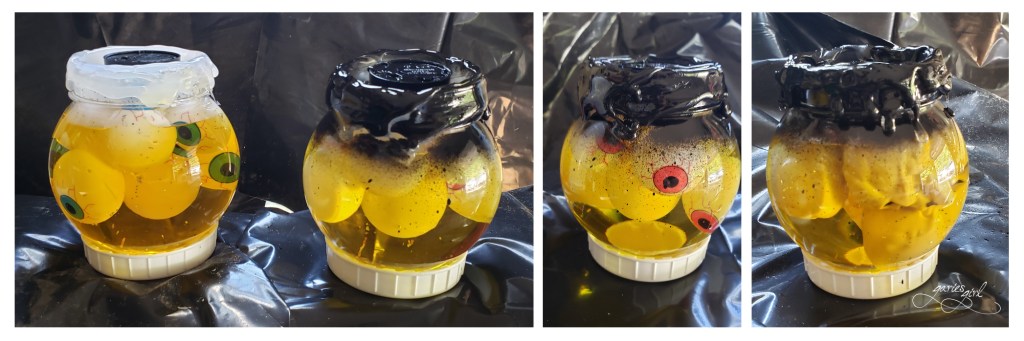
I first prepped my snow globes for their new purpose. Besides the screw-on lid, there is also a plastic insert that should be glued in place to keep the water from leaking out. I made a hole in the centre of each of these inserts using the tip of my warmed-up glue gun. I inserted a tea light candle into the hole so that the light will be on the inside of the globe. Using my glue gun, I added a bead of glue around the tea light to seal it and also keep it in place.
Next, I filled my snow globes with plastic eyeballs and skulls. I bought three ornaments and filled the first with blue eyes, the second with red eyes and the last one with plastic skulls. I mixed yellow food coloring with water, and filled all three globes with the yellow-tinted water. Also into the mix went a little bit of silver glitter.

It was time to seal everything in place with the plastic insert. I added a bead of glue all around the insert and pushed it into the bottom of the snow globe. I found this part of the project a bit tricky, since you only have two hands and the glue needs to be hot when it goes in and you have to push the insert in all the way, without dislodging the tea light and without burning your fingers! Phew, it was tricky indeed.
Finishing Touches
Since I want to be able to turn my tea lights on and off, I didn’t want to permanently glue on the outer lid. This would be the best way to seal the water in, since even after carefully gluing the insert in place, my decorations were still leaking a bit of water. I decided to not use the lid piece and continued to add several additional layers of glue to prevent leaking.
After all these glue layers were completely dry, I took my decorations outside to add a bit of black spray paint. I sprayed the bottom of each decoration, covering the glue and also the top of the decorations, where you were able to see the fluid level. This was not done carefully – I wanted some overspray and paint droplets to be visible. The lids came in handy since I was able to place my decorations on them to keep them from moving around while I was painting.
Displaying Your Creepy Decorations
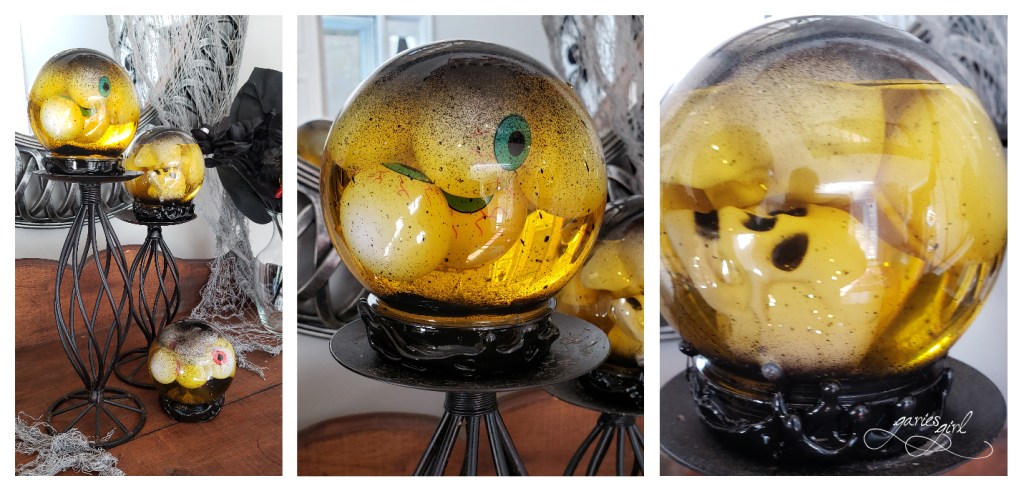
I am very pleased indeed with my end result. Very budget-friendly (less than $3 each) and can be made in no time at all. I will be displaying these on candle stick holders on my candy table as a special creepy surprise for my Trick-or-Treaters on Halloween night.
Here is a preview:
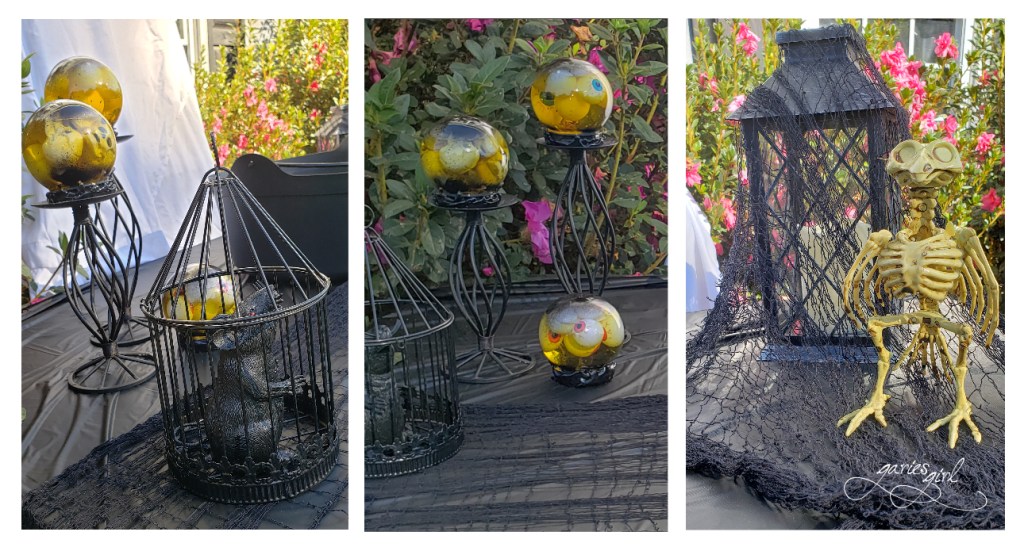
They look really good during the day, but even better at night when the tea lights are turned on. Next to my caged rat, lantern and bird skeleton, they will provide a spooky touch indeed.

What do you think?
Ready for some Halloween Wall Art?


4 thoughts