
Yes dear blog friends – it is 2020 and we are creating all kinds of new ways to do things that we would normally do in person or in close contact with other people. This year’s Halloween is no different and it has lead to some interesting DIY Halloween props and gadgets.
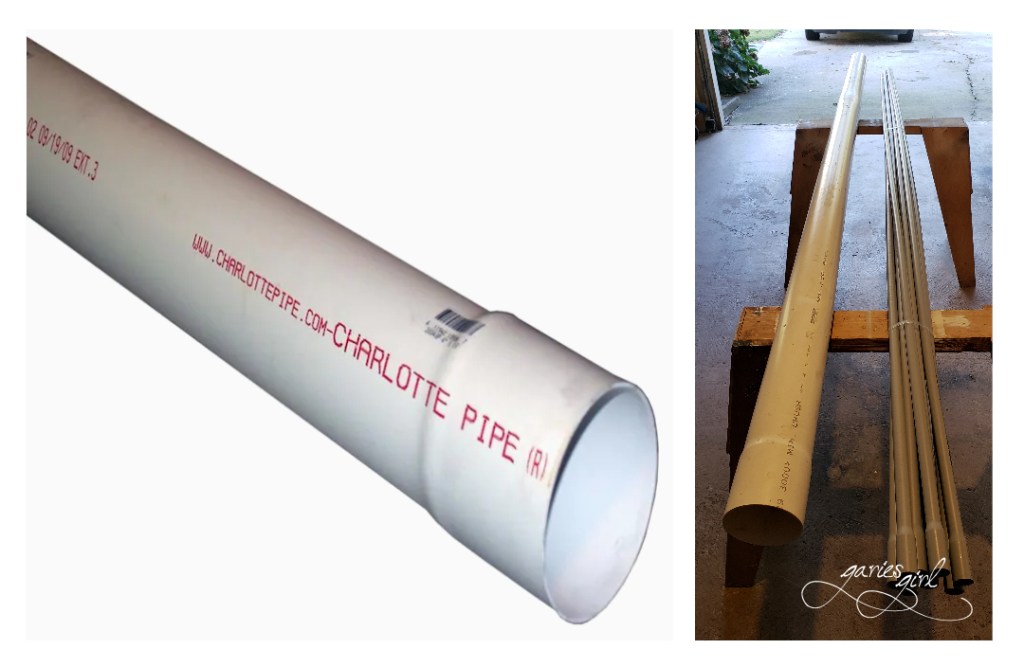
I’ve read about other DIY Candy Chutes and wanted to create one myself, but as inexpensively as possible. I found a 10 ft. long white PVC pipe at Lowes, in a 4 inch diameter, for only $11. And of course I only worried about whether it will fit in my car on my way out of the store…! Thankfully I managed to make it fit (without having a part of it sticking out the window) and I drove home and immediately got to work turning it into a Candy Chute.
Transforming a PVC Pipe into a Candy Chute
I gave the pipe a light coat of black spray-paint, trying not to make the whole pipe solid black. I liked that I could still see some of the original white color – it makes it look even more creepy – but I didn’t want to see any of the writing. I tried painting it while it was lying flat on the lawn, but realized it made less of a mess when it stands upright, so I propped it upright against a tree. As always when spray-painting anything – stay far away from any vehicles and check the wind direction. You don’t want the spray-paint flying right back into your own face.
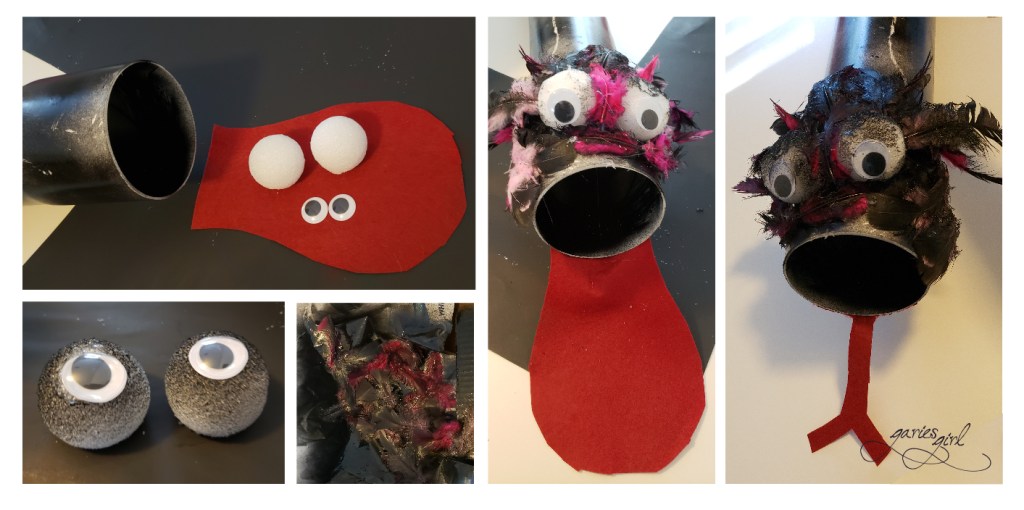
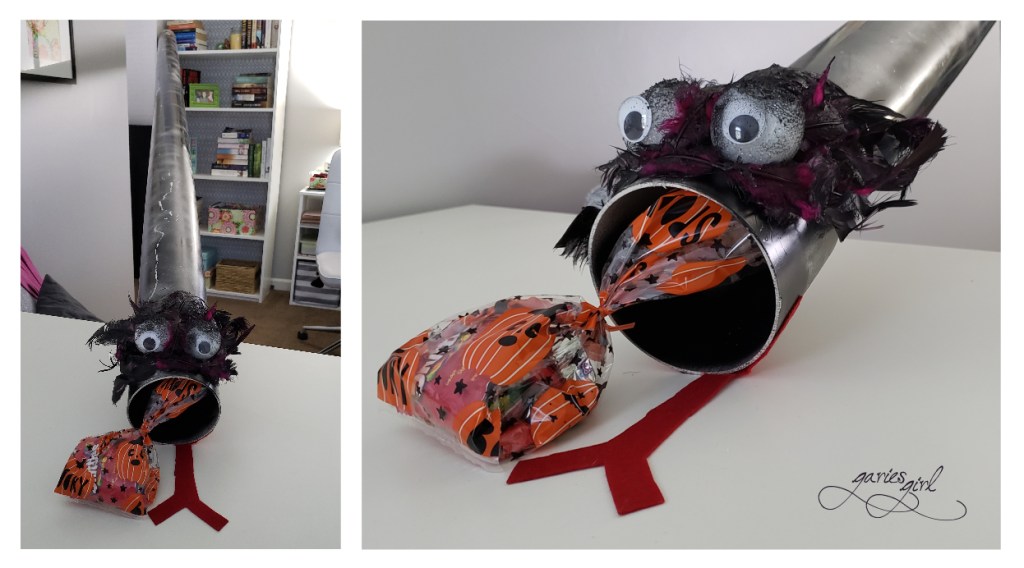
I gave the paint a couple of days to dry and then started decorating one end of the pipe. This is where the candy will exit the chute, so I wanted something “Halloweenish” here. I created a big red tongue from red felt, used some foam balls for eyes and feathers for some texture around the eyes. I only had pink feathers so even they got a coat of spray-paint. The overall result was more cartoony than creepy, so I changed the tongue by cutting it smaller to look more like a snake tongue. It looked a bit better this way so I glued everything down before applying some more black spray-paint to cover the last of the pink feathers.
Filling Candy Bags
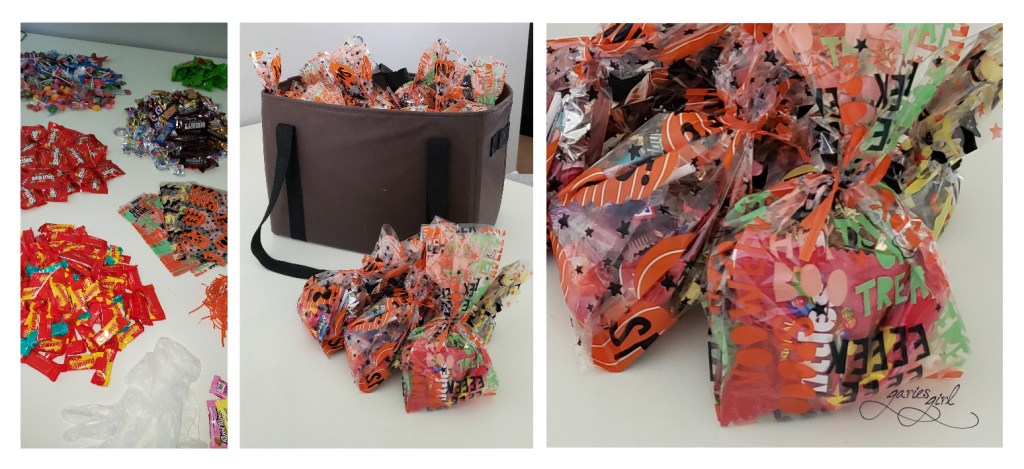
I picked up some treat bags while at the grocery store, but Dollar Tree is usually the best place to shop for these. I’ve been buying bags of candy on a couple of different shopping trips at different stores, and just emptied them all on a table. I added gloves before I started grouping my candy together. This gave me a rough idea of what had to go into each bag to evenly divide the candy and keep the proportions between chocolate and hard candy consistent between each treat bag. I packed one type of candy first and then worked my way through the rest of the groups. I wanted even distribution but you can definitely use a quick, more general “handful” approach.
Sliding Candy down the Candy Chute
My original plan was to have it hanging down from my office window right above the candy table. This gave me the perfect angle for sliding filled candy bags down the pipe and into the candy bowl. But that plan meant one of us had to stay in the office and keep an eye out for Trick-or-Treaters from up there.
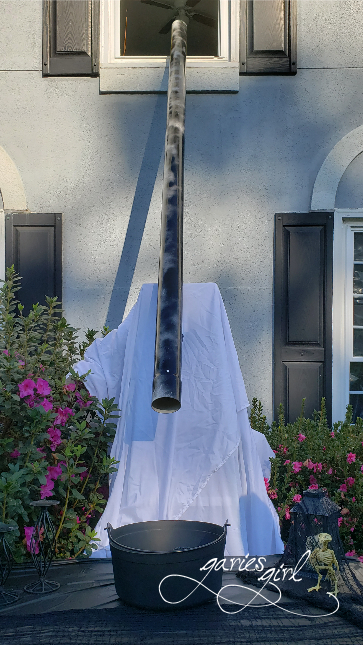
Since we’ve decided to also make a fire in our small fire pit and sit around it and enjoy the evening that way, we needed a new way to get candy right to our Trick-or-Treaters. I did a couple of tests and figured out the best angle for quick and easy candy dropping. I will be using a couple of ladders (one tall and one short) and tie my candy chute to these. Each will be covered in white sheets and we will be able to safely distance while spreading some candy joy to the neighborhood kids.
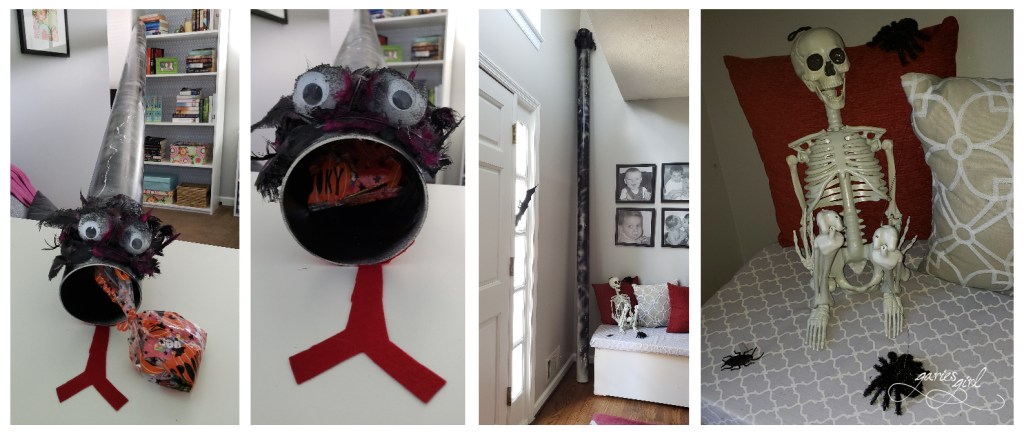
For now, the candy chute is out of my office and is hanging out with Skelly in my foyer. Skelly is another fun Halloween prop that I put in different poses (when I remember). It has been interesting to see who in the house pays attention to their surroundings.
We’ll be putting the Candy Chute out with the rest of our decorations on the day of Halloween. Have you made a candy chute yet and if so, how did it turn out?
Read on to see what we are planning for Halloween 2020!


5 thoughts