* This post contains affiliate links. For more information, please read my affiliate disclosure. *
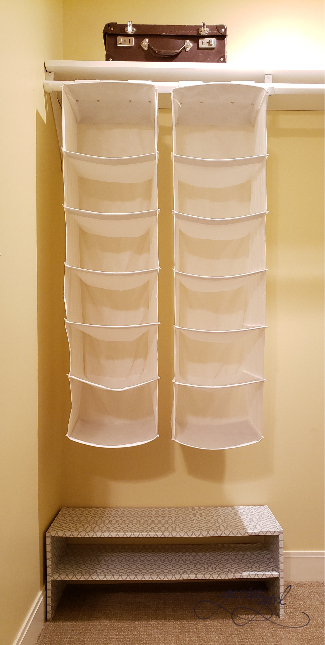
I have absolutely no idea how I became the owner of this shoe shelf. I think it might have been left behind by the previous homeowners since I really don’t recall buying it new or picking it up from my local thrift stores. Either way, it lives in our guest bedroom closet and has been there for a while now.
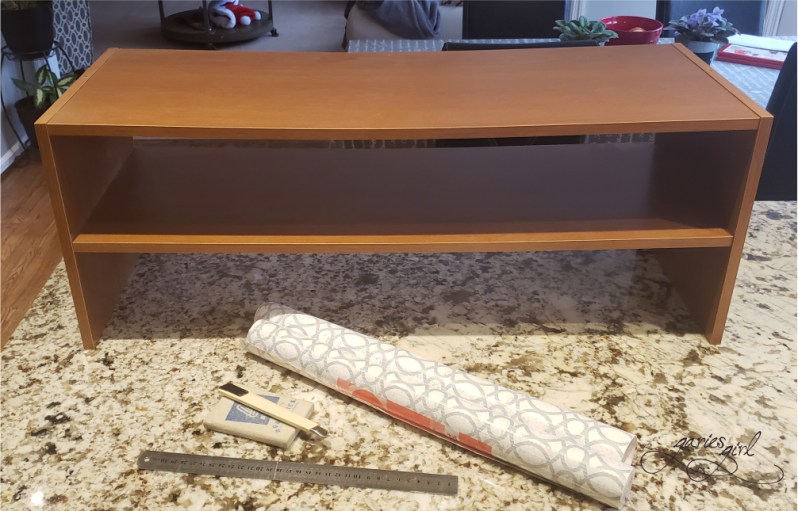
I was working in the guest bedroom the other day on two other projects (I lengthened the curtains and I fixed the light switch on the ceiling fan) and this shoe shelf caught my eye again. And not in a good way. It caught my eye because it just isn’t pretty, to begin with. Now I know it has a simple function and doesn’t need to be pretty at all, but that just isn’t how it works around here. There is just no good excuse to sit around and be ugly!
While I have painted some of my other “wood” furniture before, I felt like this item might benefit more from a bit of contact paper. And I happen to have some leftover from my office bookcase project that I just knew I had to use again somewhere in the house. The shoe shelf had a nice smooth surface and my test piece adhered nicely.
Supplies
For this project, all I needed was:
- contact paper
- a metal ruler
- a craft knife
- a felt squeegee
- a measuring tape
Have you browsed the current selection of peel and stick wallpapers on Amazon? Any of those would have worked just as great for this project. Do yourself a favor and check out the different patterns available online.
Prep Work
All I really had to do was to clean the shelf. I used a damp cloth and wiped it down making sure to let it dry properly before I got started.
The Makeover Process
I started by cutting a piece of contact paper big enough to cover the top of my shelf and wrap around the front edge. Peel off the backing of the contact paper and start applying in a corner. A trick I learned from my signage days (where I worked with big pieces of vinyl), is to peel off half of the backing and trim it away. Start applying the contact paper from the middle and work your way outwards using your felt squeegee to smooth out the paper.
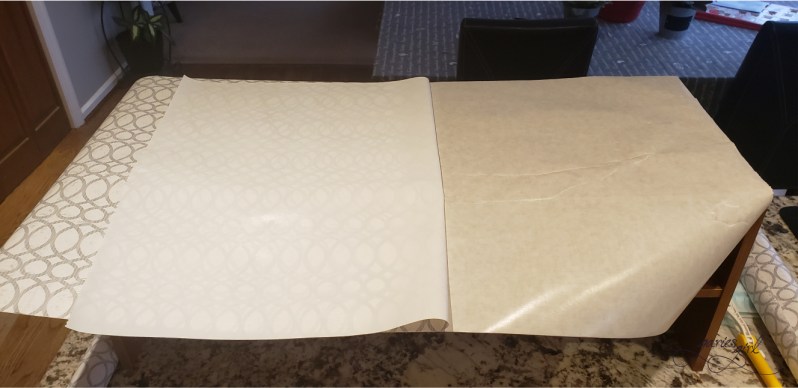
Once the one side is down, you can flip the contact paper up and remove the backing from the other side. Start in the middle and work your way in the other direction. Oh, and if you have trouble working from right to left, just turn your piece around and you can work in the direction that is most comfortable for you. I recommend applying more contact paper than you need and then trim away the excess.
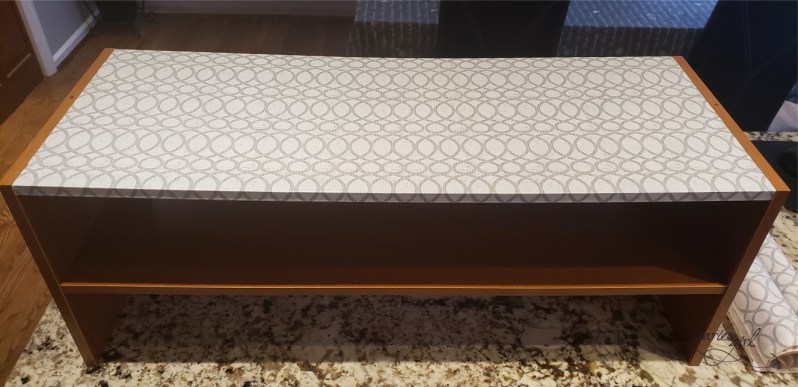
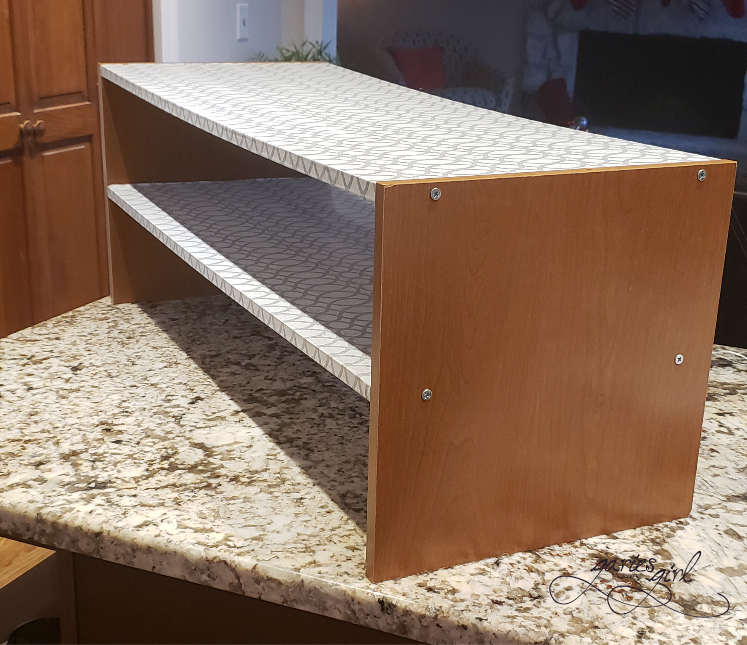
I continued this process until both shelves, the inside and outside was covered. I used my craft knife to cut around the screw heads on the side panels. I had some plastic screw head covers in stock so I used those to cover them.
I bet you have some small brown piece of furniture around the house that can use a bit of sprucing up. Go ahead, give contact paper a try. Unlike paint, if you don’t like the way it looks, just peel it off.

2 thoughts