
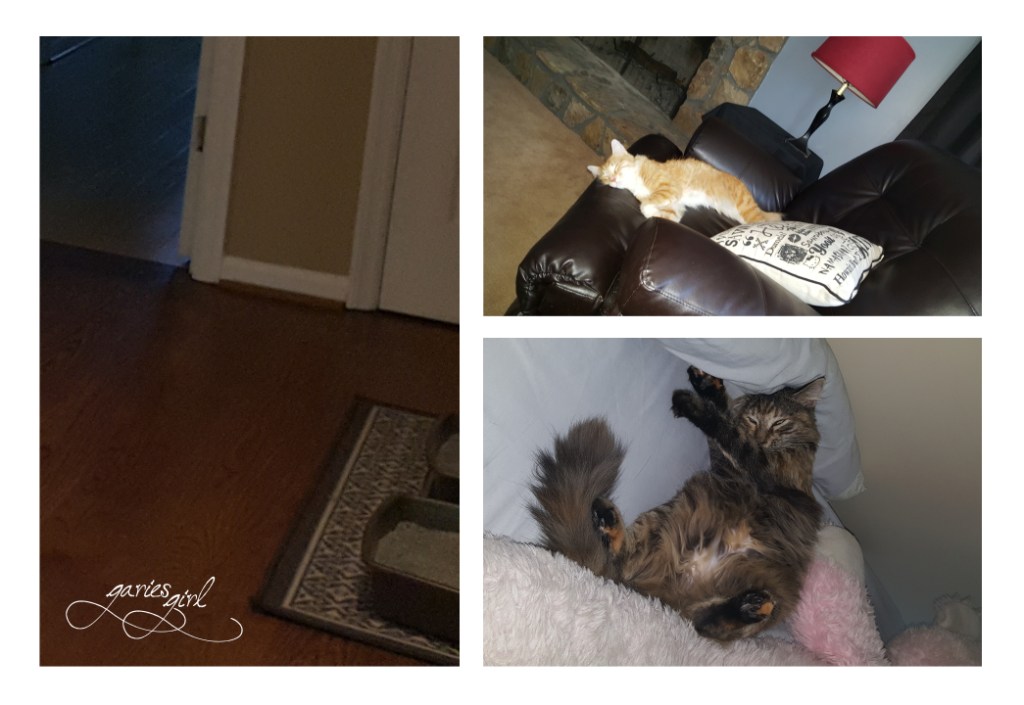
Ever since we got our two cats (back when we lived in Rome, Georgia) I started researching ways to hide their litter boxes. I mean, that is not an attractive item in anybody’s home and I for one, hated looking at them. I know what you are thinking at this point, why doesn’t she just buy a better / covered litter box or even better, a cabinet at one of the big furniture stores that will hide them for her?
Well, maybe you don’t know me well enough yet. Two things: First of all, I hate spending money. And second of all, it sounded like a fun project to make something myself!
Moving to Suwanee
Exactly a year after moving to Rome, we turned around and moved right back to the Duluth Suwanee area. With the move came a new house and a new spot for the litter boxes. During moving day and for the next couple of days afterwards, we kept the cats in our room and bathroom. So their litter boxes were right there in our bathroom. Not attractive. Once they were used to our new house, we let them roam the rest of the house and moved their litter boxes out to the upstairs landing. As a temporary spot, thinking this wasn’t a high traffic area for our visitors and still close enough to our bathroom so that the cats won’t forget where to “go”.
Becoming Invisible
I’m sure that this happens to so many of us out there. After a while, you don’t notice an “issue” in your house anymore. These litter boxes started to blend in with their surroundings and was just something to glance at and walk by as fast as possible. Soon though, I picked up my cabinet search to give us a better solution in this area.
The Solution
I liked the idea of a cabinet the most since it will give me an additional spot for decorating in the hallway, as well as an area to keep all the cat accessories together. I had this idea of finding the right cabinet at a garage sale, or thrift store, and easily converting it into a litter box for our two feline owners friends. I was patient, and knew I could wait until the right cabinet came around.
Always on the lookout at my local thrift stores, the right cabinet ended up being in my neighborhood. I saw the Facebook post for an already converted cabinet early one morning and immediately replied that I would come pick it up. Even better, this cabinet was free! Simon, my teenage son, agreed to help me move it to the house and so we went to pick it up.
Cleaning up the Cabinet
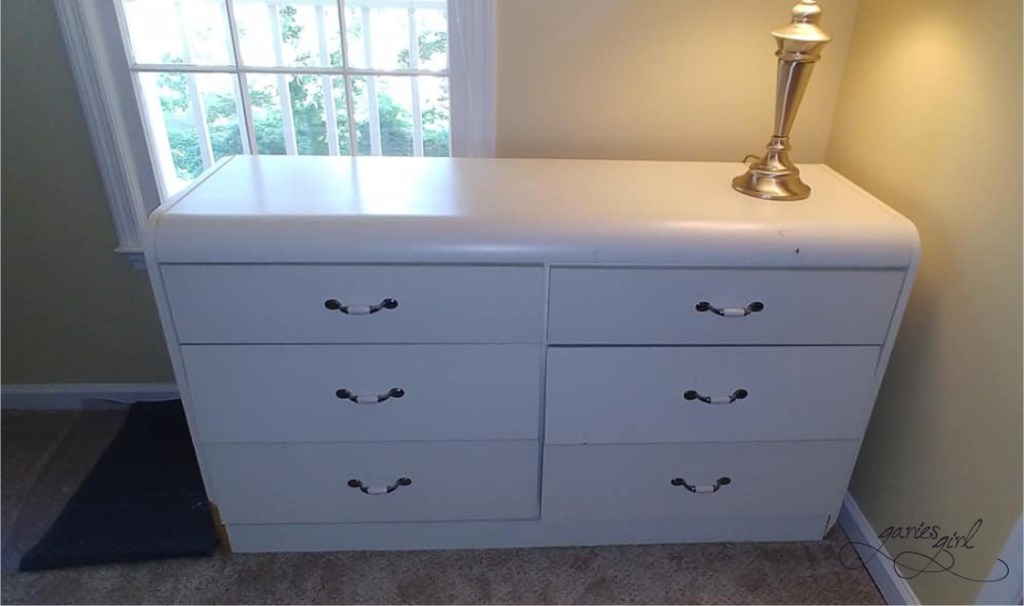
This cabinet use to be a six-drawer dresser and when we saw it in person, we realized it was in worse shape than what the pictures showed. It was also larger (and heavier) than I thought it would be. Not one to back down, we dragged it onto the truck and into our garage.
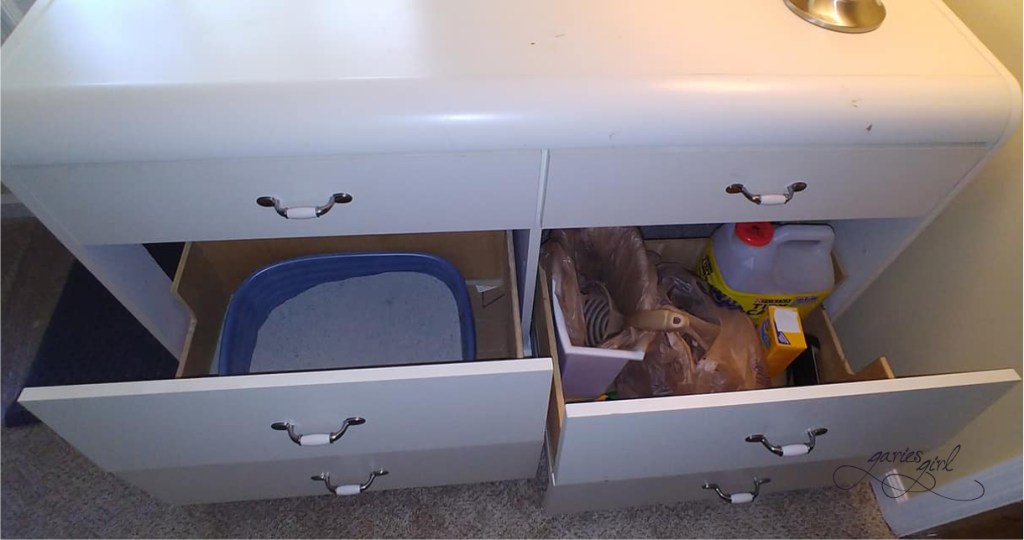
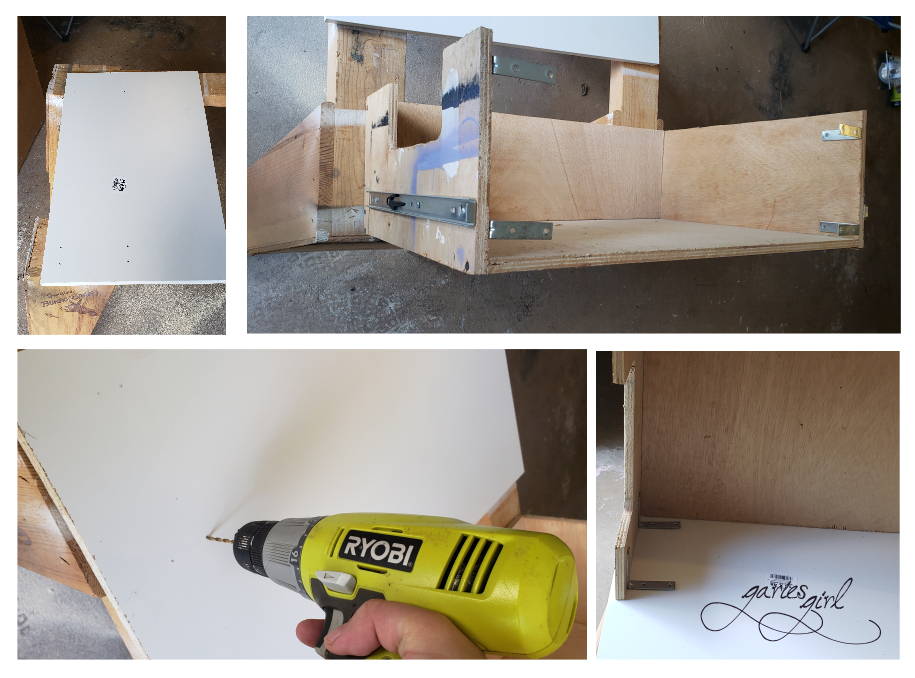
First up was a good cleaning. I took it apart and scrubbed it clean – inside and out. Amazingly it started to look better almost immediately. The cabinet was ideal for a two cat litter box situation, but the drawers were not sturdy at all and the openings on the sides were different sizes and very roughly cut. I used our jig saw to enlarge one of the openings and straighten out the other one. Once I liked the openings, I inserted the drawers and enlarged the side openings in them too.
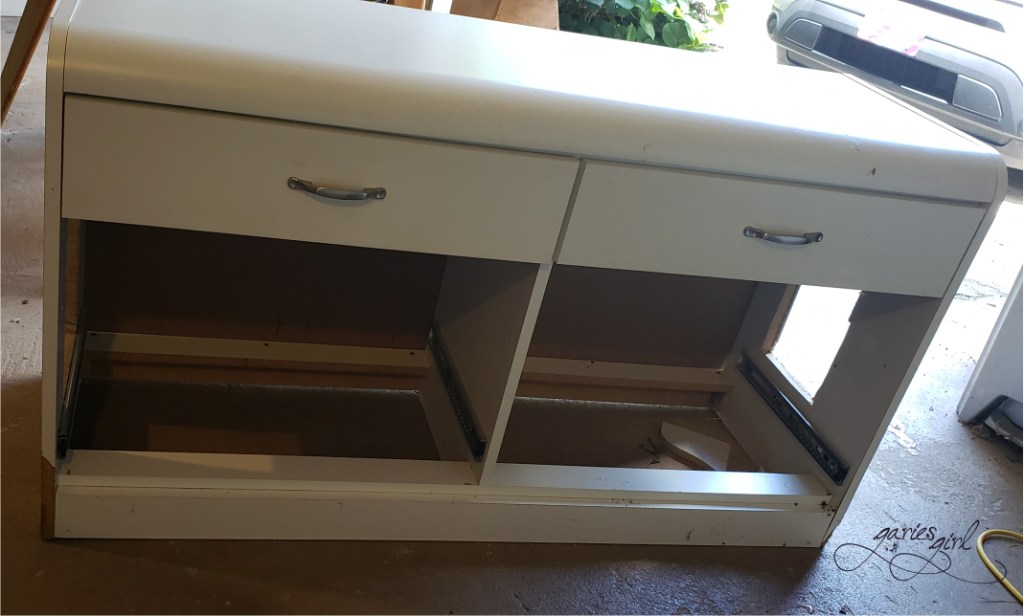
When the cabinet was converted into a litter box by the previous owner, they removed and discarded the middle drawers, but kept the drawer fronts. These were just attached to the bottom drawer fronts with small brackets and didn’t look great. I took the bottom drawers apart and purchased a new, larger drawer front for both. Now I had one piece of wood instead of what was obviously two pieces attached to each other. Due to the standard sizes of these pieces of wood, I still ended up with a small gap at the top of the cabinet, but figured it would just let in light and fresh air for the cabinet users.
Finishing Touches
Once the cabinet was put back together, I used edging to cover the rough edges of the new drawer fronts. This is just ironed on with a household iron, where the heat activates the glue and makes it “stick” tot he wood. I added two new drawer pulls early on in the process and also painted some of the raw wood areas. Soon it was time to call in Simon’s help to carry the finished product upstairs.

We transferred both litter boxes into the bottom drawers and use the top drawers for bags and scoops. The cats didn’t even give it a second thought and soon it was “business as usual” in here.
Once I added a colorful table runner (a gift from Geezer Abroad’s recent Peru trip), a lamp and potted plant, it looked like a proper piece of furniture. I can now walk by this area of my home without being embarrassed by litter boxes. These, by the way, are still easy to clean – you just pull out the bottom drawers – and the whole area around the cabinet is mostly litter free now.

I know this was not a “done from scratch” project, but I still wanted you to know that you too can find a free item and improve on the existing design. Who knows, this cabinet might even get some wall paper at some point – there are so many options out there!
Have you created your own litter box furniture or converted an existing piece of furniture into a litter box? I would love to hear about your projects!
