* This post contains affiliate links. For more information, please read my affiliate disclosure. *
We did a thing – a good thing! We added an outdoor living space to our back deck and we love it! Comfortable seating, side tables for drinks and snacks, pillows and plants for color. But let’s go back a little bit to talk through the complete deck transformation.
Where we Started
Back when we moved into this house, we brought our DIY table with us, as well as the chairs we got for it originally. Because of the space between the deck boards, it worked best to place the table at an angle, so that the chairs – and our guests – don’t fall through the cracks, so to speak 🙂 Of course, the table is on the bigger side, so in my opinion, it worked best on the far side of the deck.

We had a smaller grill back then, so we placed it in the bumped-out area near the table. We had no shade but did add tiki torches to our railing to help keep the mosquitos away at night. But that was it – not even a single plant made it onto the deck that first year. I focused mostly on finishing small projects inside and did not think of the deck area much.
The year after, we managed to add an umbrella (with built-in lighting), and for decor, some plants. We spent some time and effort on a proper clean (power washed the deck and restained it) and called it good. Or more accurately, good for now. Again the bulk of our home upgrade efforts happened inside. Painting – so much painting – and other built-in furniture pieces. Have I told you how handy Pieter really is? Hope he reads this – I have another project in mind for our bedroom and some flattery will go a long way with this DIY…
The First Deck Upgrade
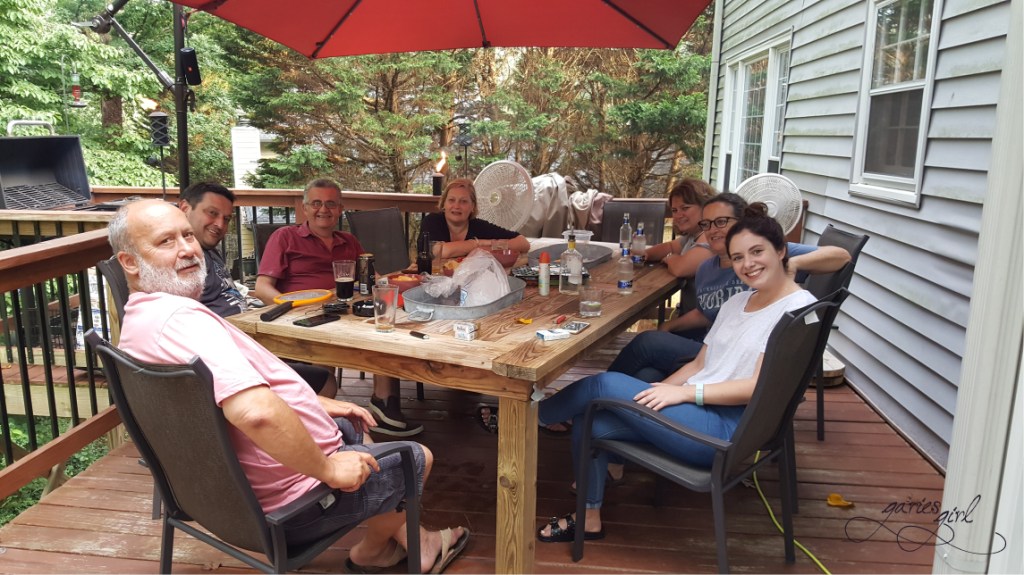
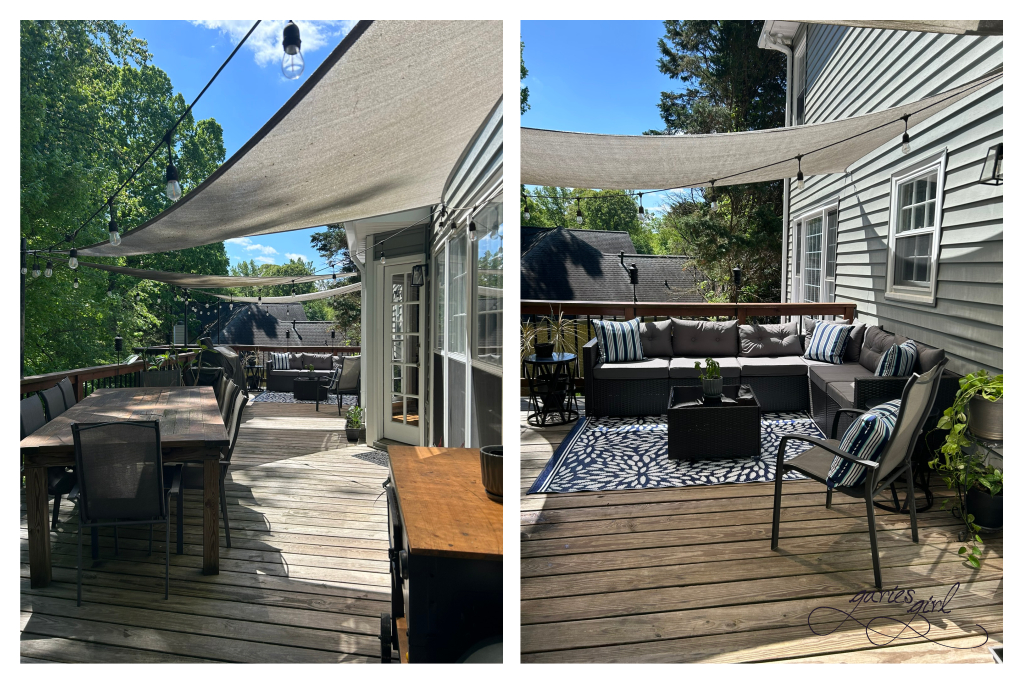
Fast forward four (!!!!) years, and we realized we could do better on the deck. The first issue was shade – we needed much more than the umbrella could give us. We also needed better lighting at night. Adding three shade sails and string lights made a huge difference in how we used the deck and the overall look and feel of the space. It became a cosy spot where you wanted to sit with friends and enjoy meat from the grill and cold drinks. Our deck was finally pretty and functional.
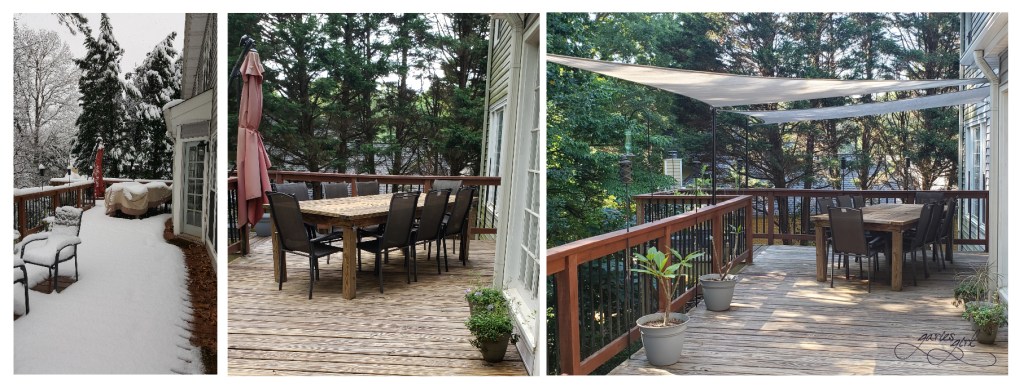
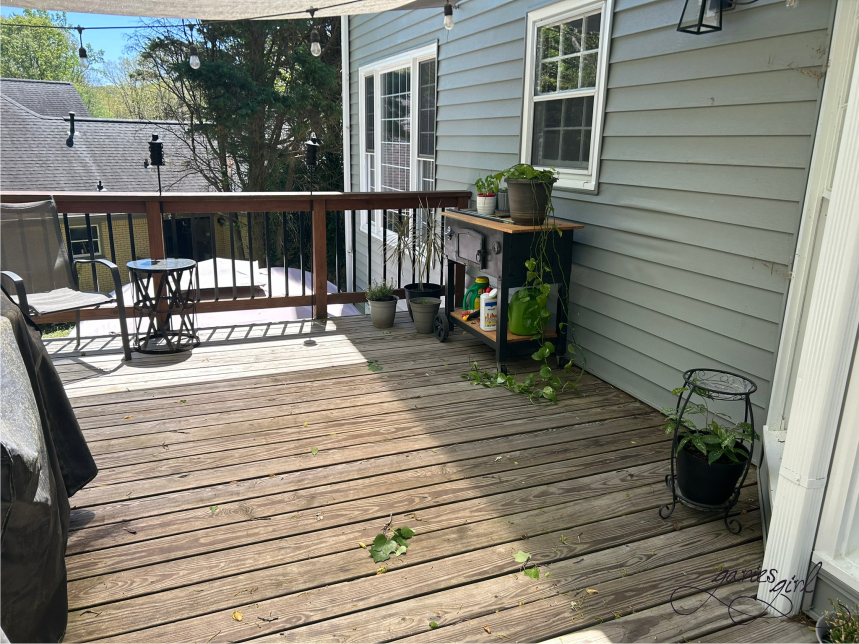
It wasn’t until last year, that we accidentally found a new spot for the big table. We were getting ready to powerwash and stain the deck again, and since it is easier to do it in sections, moved the table and chairs over to the other side of the deck. We finished our annual cleanup work and decided to leave the table where it was and see how it worked out. The other half of the deck still had the grill, and our DIY grill table, as well as a little seating corner, which was just the two extra chairs and a side table. And all my plants. We’ve started using the bump-out area for our pepper garden and I’ve been adding other plants over the years for color.
Additional Seating
A couple of weeks ago, Pieter started talking about outdoor couches. We looked around in stores and online and after some research, decided on a set from Amazon. What we found interesting was all the different configurations the set lent itself to. We were looking for an L-shaped configuration, but this set can be split up and used in many other ways.
Assembly Required
Like a lot of online furniture purchases, it needed to be assembled. And the reviews about that part of the purchase weren’t great. What gave us courage, is that we would both be doing the assembling – a little bit of teamwork. We’ve assembled and built a lot of furniture before, and we have the proper tools to make it easier. We felt it wouldn’t be a big deal and might even be a fun activity for one evening after work. Oh, the things empty nesters find fun are truly mind-blowing, but that is a topic for another day.
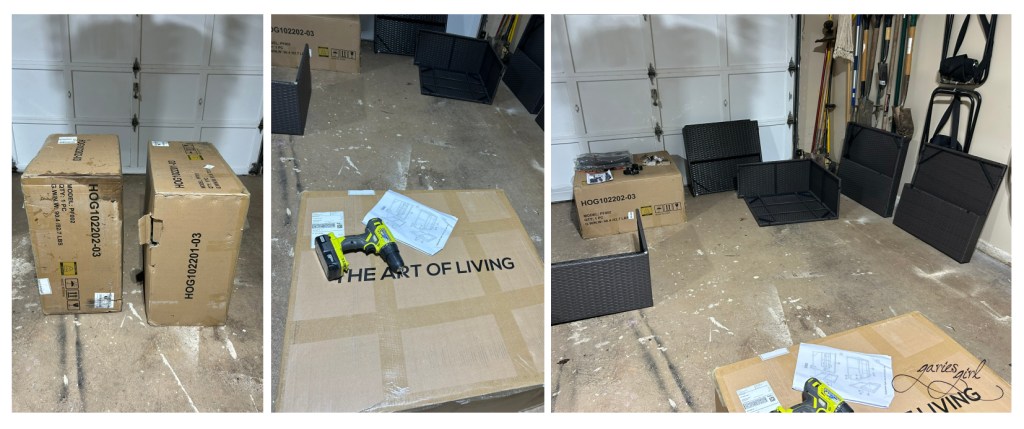
The set arrived in two boxes, on a particular rainy afternoon, but we were prepared and had half of the garage to work in. We unpacked and placed all the pieces around the garage and started with the instruction booklet. Everything was properly labeled and instead of written instructions, we just needed to follow the pictures. The first piece we built was a single chair. All panels are screwed together using the provided screws, nuts and washers. Instead of the supplied Allen key, we used our cordless drill. This made it much easier and faster.
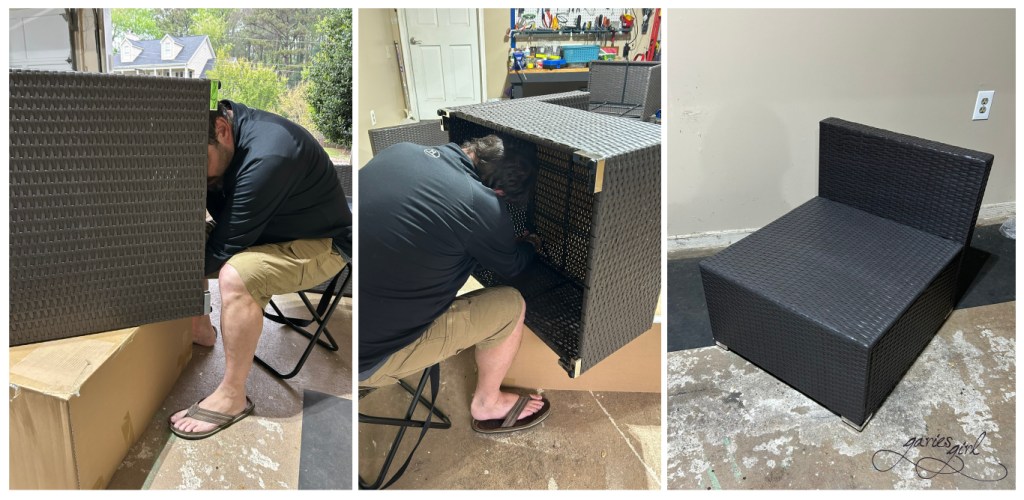
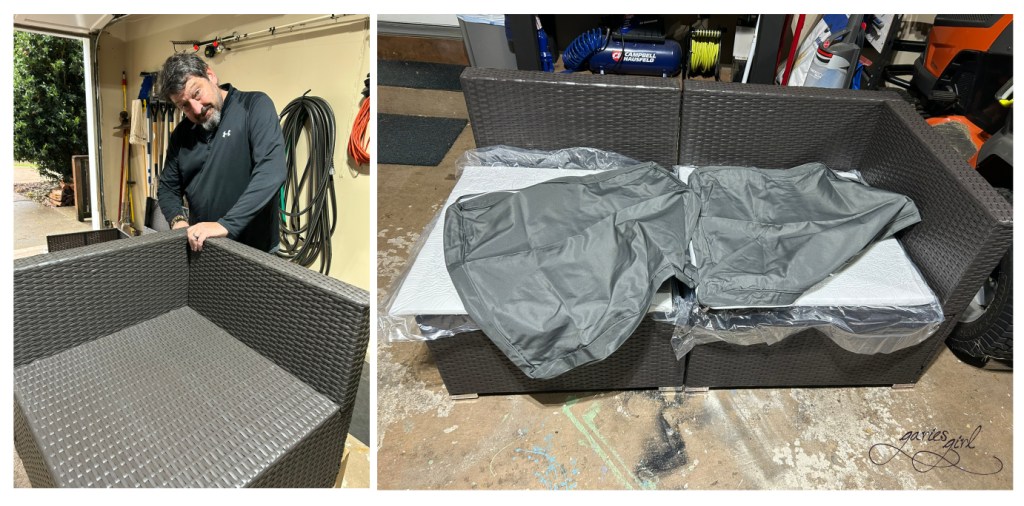
We repeated the process piece by piece, and within two hours, we assembled all the chairs and the coffee table (or tea table as it was called in the instruction manual). The seat covers are water-resistant, and the foam pieces are relatively easy to insert. They came vacuum sealed and very flat, and when you opened the plastic, they expanded. We quickly figured out that letting the foam expand inside the seat cover worked best. So we only opened one end, inserted the foam – plastic cut end first – and pulled out the plastic.
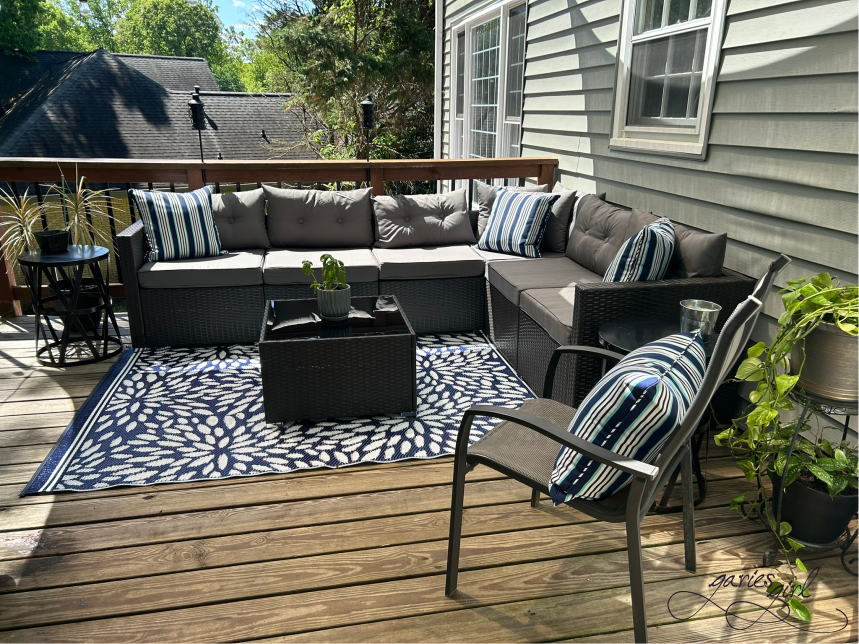
By Friday afternoon it was finally clear and sunny and time to move our new furniture outside. The individual pieces are lightweight, and I could easily carry them from the garage to the deck by myself – not that I did, Pieter couldn’t wait to see them in their new location either. We played around with the pieces to get the layout that would work best for us – the short side of the L against the house, and the longer side of the L against the railing.
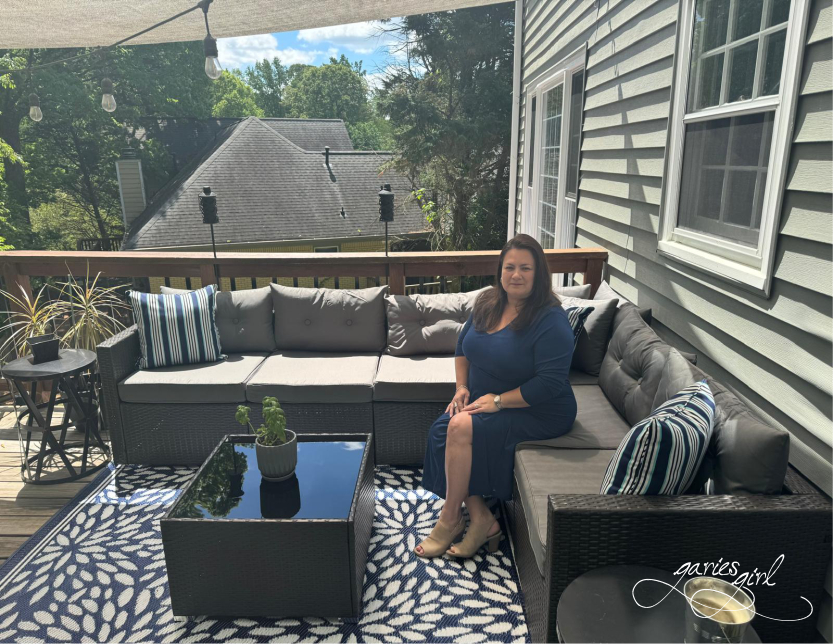
Then it was off to Biglots (with our 20% off coupon) for an outdoor rug and pillows. I already had the metal side tables and styling our outside living room was as easy as putting down the rug and adding the pillows. I added the extra chair that didn’t fit at the table and we were all set. We were quite busy in the garden that Saturday and Sunday, but that just meant we could nap on our new couch later in the afternoon. And it was lovely! We were in the shade, chirping birds for background noise and a light breeze that kept the temperature comfortable.
Furniture Set Details
This seven-piece set includes a table with a glass top, two corner/end seats and four middle seats. The L-shaped configuration suggested using one corner piece on the end, and the second corner piece in the actual corner, leaving one end piece open. We changed this the very next day to have an armrest on both ends. The corner piece is now missing one of its back supports in our configuration. It is not noticeable with the pillows in place and it is not likely that someone would sit right in the corner. Having armrests on both ends prevents the seats from sliding off the side and provides support when you put your feet up, or when you nap.

Also included were plastic pieces to secure the pieces to each other. It takes a bit of effort to get them to click into place (or maybe I should have asked for Pieter’s help here), but now the whole set is connected to be a single unit.
If you are looking for lightweight furniture for your deck – that will not break the bank – this set is a great option. It arrived much faster than indicated (3 days in our case), and assembly only took 2 hours, working on one piece at a time. The grey is a nice base color and you can add your own accent pillows to brighten it up.
I’m looking forward to many afternoons on the deck now!

One thought