Our guest bedroom is located down in the basement and it features two nice sized walk-in closets. Only one of them had shelving installed when we moved in, so we just used the other one as a storage area for our luggage, extra bedding, toys and some other random items. Everything was just stacked on top of each other and getting anything out of the closet was a painful process. Not to mention it looked extremely messy. I’m a bit embarrassed to show you, but hey, we’re all friends here and you won’t judge, right?

Earlier this year, while my parents visited, we reorganized the garage and had some leftover shelving. These were added to our main storage room and it was at this point that I realized it would be an easy project to add shelves to the extra guest bedroom closet as well. Since this closet is in the bedroom, I wanted to add finished shelving and not the rough kind we did in the storage room next door. I also wanted clothing rods so that the room could function as a regular closet when we stopped needing it for storage.
Planning out the Shelving
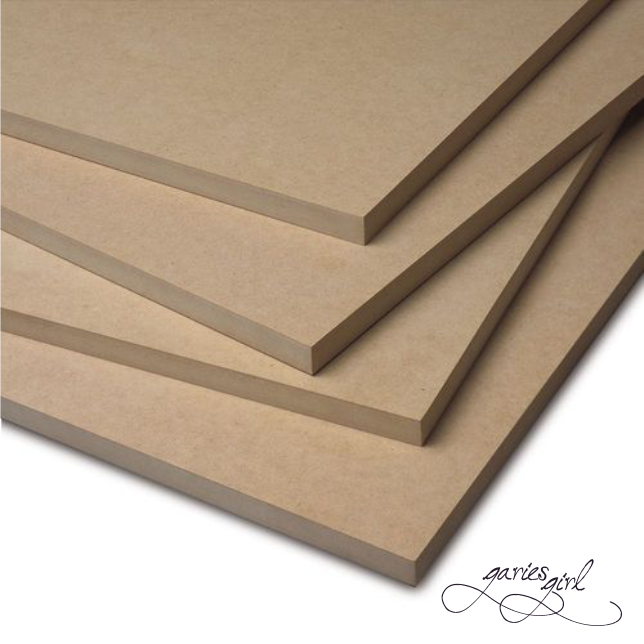
We didn’t realize how many pieces of MDF (an engineered wood product) we had until we reorganized the garage. In the spirit of using what we have (and not always buying new) I only had to figure out how to make them look more “finished”. I tried regular paint and spray paint, but both options would take too much paint and take way too long to get the proper level of coverage. So I changed direction and tried contact paper. I had some contact paper leftover from previous projects, so I used a piece as a test. And it worked just as I hoped it would. It adhered to the smooth wood and it gave me the finished look I was going for.
My next order of business was to get some exact measurements. The closet is rectangular, and I wanted one shelf on the long side of the room, and ideally two on the short side. I only needed clothing rods for the top two shelves. I made a rough sketch and included all my measurements so that Pieter could help me cut the pieces to size.
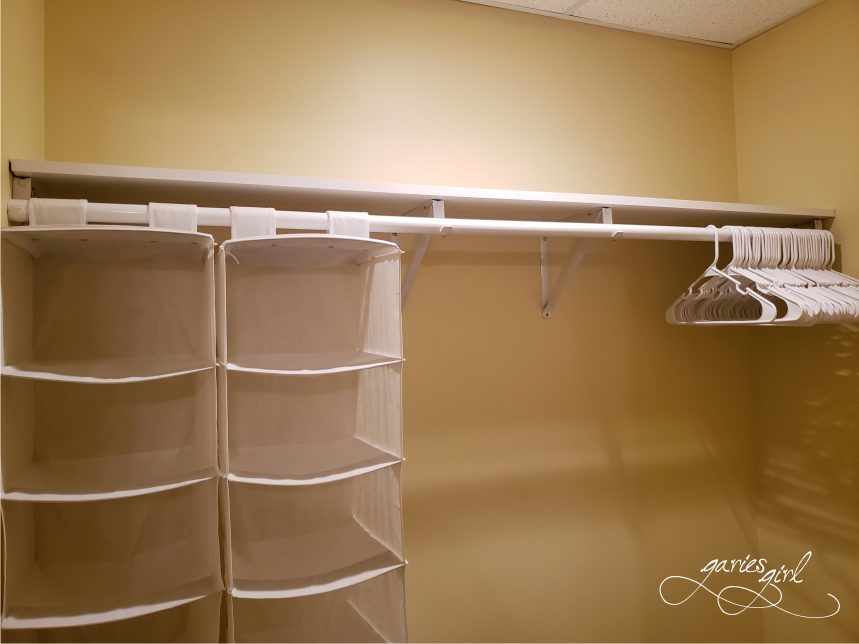
It was also time to go shopping. We needed the brackets, rods and of course, contact paper. Home Depot had so many different options for the brackets but we wanted something similar to what was in the adjoining closet. We purchased straightforward metal brackets, that included a clothing rod support and was already painted white. We also picked up two lengths of clothing rods. There wasn’t any contact paper that I liked, so we decided to get the shelving done first and worry about covering them later.
Cutting and Installing
We measured our wood and marked the pieces we would need for the shelving. Then it was just a matter of cutting them to size. Pieter did the cutting, and I played the part of his helpful assistant. We carried all the shelves, brackets and tools down to the basement and got started with the installation.
I already marked the studs on the walls and created some lines where I wanted my shelves to go. All Pieter had to do was screw the brackets into the studs while being careful to keep everything nice and level. Next up was clothing rods. The rods came in standard lengths, so we had to measure and cut them down to size to fit in our closet. Once those were in place, all that was left was to place the shelving on top of the brackets. Since I have not found a contact paper that I liked yet we just left them lying on the brackets for now.

Finishing the Shelves
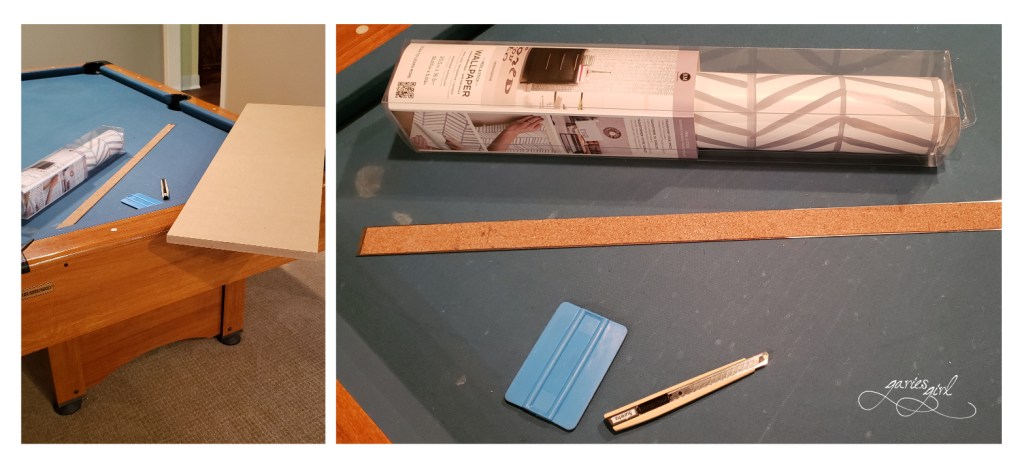
It was during a shopping trip to Walmart a couple of weeks later that I found some contact paper that could work. I had my measurements with me and picked up enough rolls so I could cover the shelves on both sides.
Back home, it was easy to take the shelves out of the closet and start the covering process. The contact paper wasn’t wide enough to wrap around the combined width of the top and bottom of the shelf, so I had to create some joins and overlaps. Here I followed the natural pattern and planned it so my joins will be on the bottom of the shelves, and not the top.
Applying Contact Paper
So what do you need to cover some shelves?
- Contact Paper
- Ruler
- Craft Knife
- Plastic Squeegee (or old credit card)
- Measuring Tape
- Flat surface to work on
The trick with covering anything with contact paper is to cut your initial piece a bit bigger than what is needed. You want to get it in place and secure it there with masking tape. This is something I learned from our manufacturing team at our sign company in South Africa. Once in place, you want to peel off a section of your backing paper. This you cut away and then you can smooth down this section of contact paper. Start from the area where you cut away the backing paper and smooth out any bubbles towards the end. You can use a plastic squeegee or even an old credit card. If it looks like either will scratch your paper, wrap it in a thin piece of cloth.
Once the first section is in place, you can remove the rest of the backing paper a little bit at a time. You do this at the same time as smoothing down the contact paper in the same direction. Once everything is down on the surface of the item you are covering, you can use a knife and cut away any excess from the edges.

Putting the Closet Together
When all three pieces were covered I simply placed the shelves back on the brackets and screwed them into place. I could now add back in all the items I store in this closet and get them off the floor as much as possible.

I used clear bags to group my electrical blankets and extra comforters together, and these are now stored on the shelves. Our luggage is still on the closet floor, but I removed all the extra bins and they are now in the “official” storage room next door.
