We have a side garage and driveway, and most of our friends and family park here and come around to the back deck and our back door. So only official visitors and the Amazon delivery driver follow the path around to the front door.
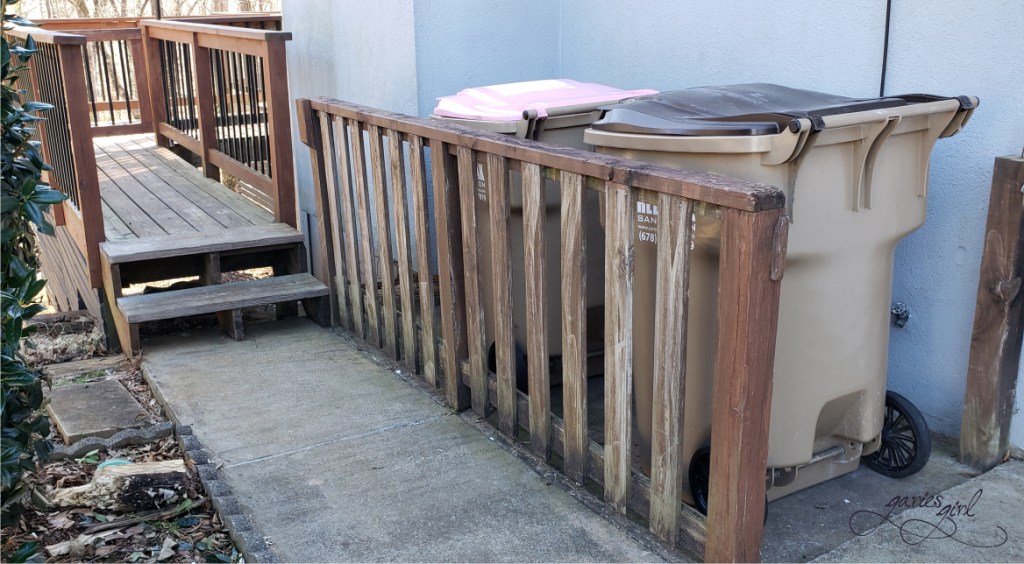
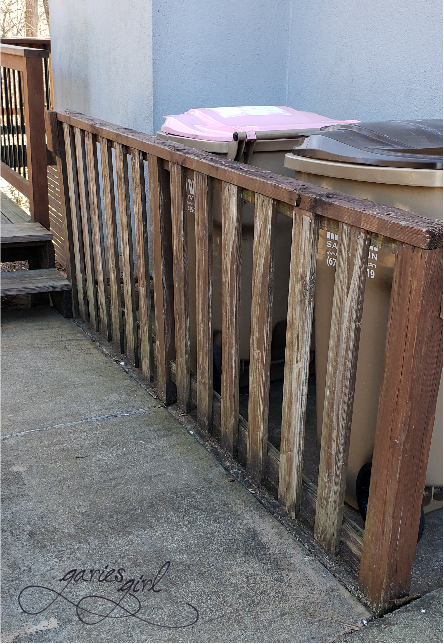
Well, the path to the back deck takes you right past our trashcans. Not the end of the world (we all have trashcans), but no reason why this area couldn’t receive a mini-makeover. We have a small fence to “hide” the trashcans, but it wasn’t doing an excellent job. And it was starting to show its age. This fence is what I wanted to focus my makeover efforts on. And get rid of come leftover paint and wood as a bonus.
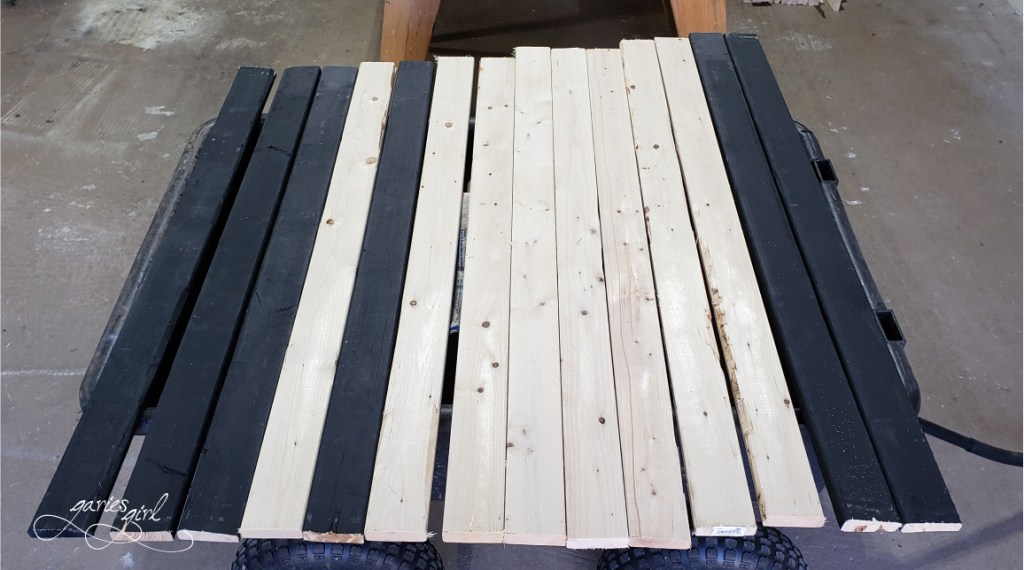
Here are some before pictures:
Gathering Materials
I had some wood leftover from my recent deck project and wanted to use them somewhere, anywhere really. Half of the wood was already painted and I still had enough leftover paint to finish the rest. The existing vertical pieces of the fence had larger spaces between them and my plan was to fill these with my leftover pieces. The challenge here was the height. The fence is on a slight slope, and none of the pieces will be the same height.
First I created a rough drawing showing the existing fence. Then I measured all the spaces I wanted to fill and marked them on my drawing. I took out all the leftover pieces and started measuring those to see if I would have enough wood for this fence update, and luckily I did.
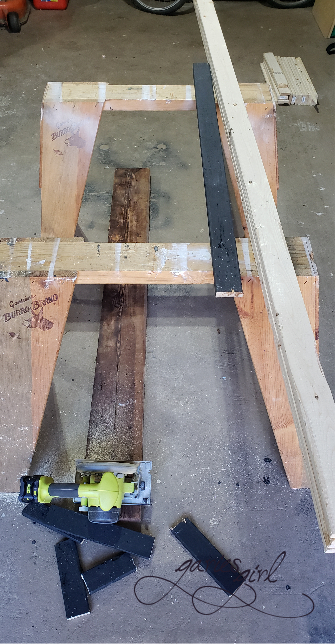
Cut the Pieces to Size
The next step was to cut all my pieces to size. I used my drawing and measured every piece a couple of times to make sure I used it all the most efficient way possible. I planned it so that longer leftovers will give me two pieces of new fencing, with the minimal amount of waste.
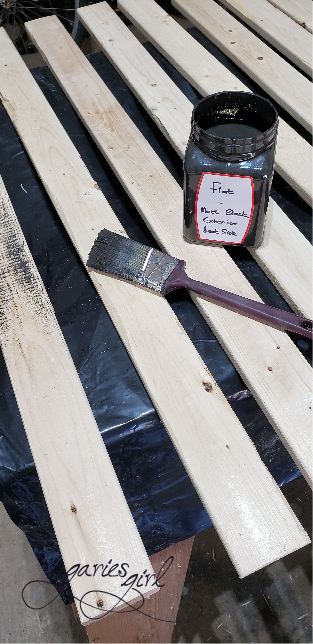
Painting
I went ahead and painted all of my pieces. It was easier to cover all the new cuts this way. Painting is always the most time-consuming step of these types of projects. Each piece of wood gets at least three coats of paint, and you can only paint one side at a time. I would lay them out in the garage, paint one side and leave them to dry. Then come back, flip them over, and paint the other side. And repeat the process. I spread this painting process out over a couple of days, with the plan to complete the actual installation over the weekend.
Installation
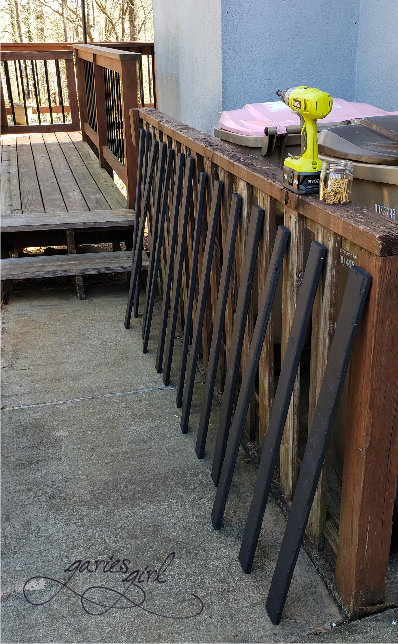
It was finally time to finish this fence. I propped the new pieces up in place and we (Pieter couldn’t resist helping) started fitting them to the existing fence. Here we realized early on that we would need to predrill the holes to prevent the wood from splitting. We just did this in place as we worked with each piece, before screwing them into the horizontal supports of the fence.
Final Cleanup
Once all the new pieces were in place, I grabbed my paint and paintbrush and painted the existing vertical pieces black as well. They are slightly wider than my new pieces, but I like the overall effect I am getting from this design. I also touched up my newly installed wood and covered my yellow screws. I did not restain the supports and top cap – figured I would do that later in the year when I work on the deck railing. We might still replace the top cap – it isn’t in great shape really.
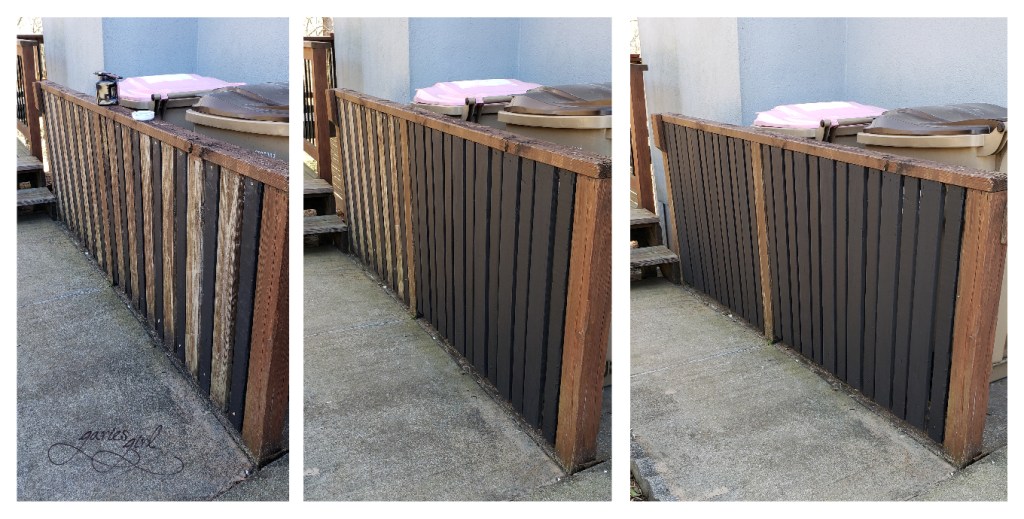
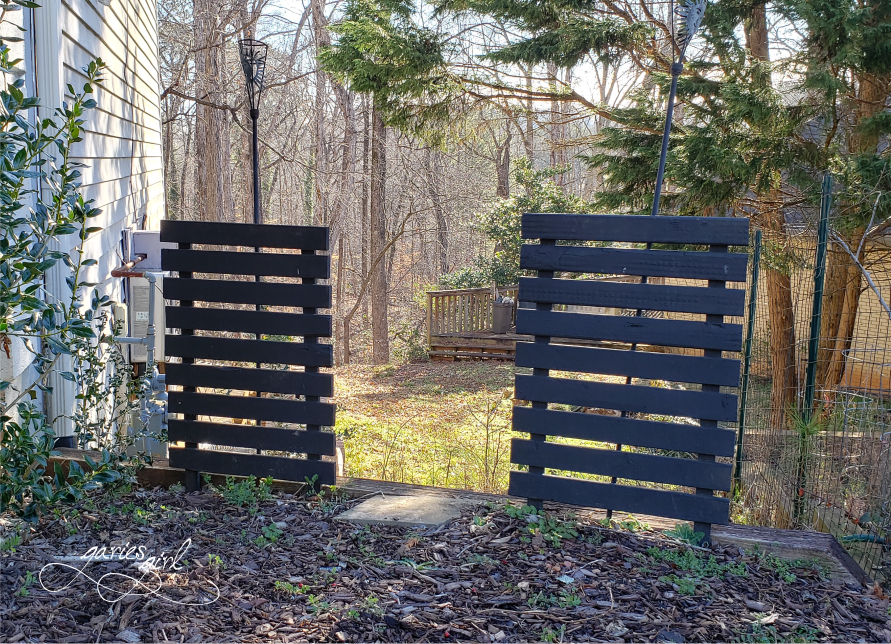
Here is my fence after everything was painted:
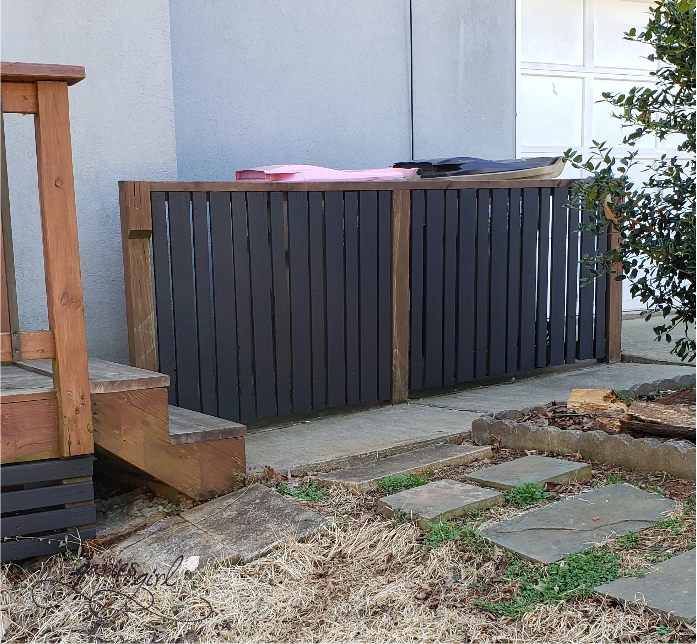
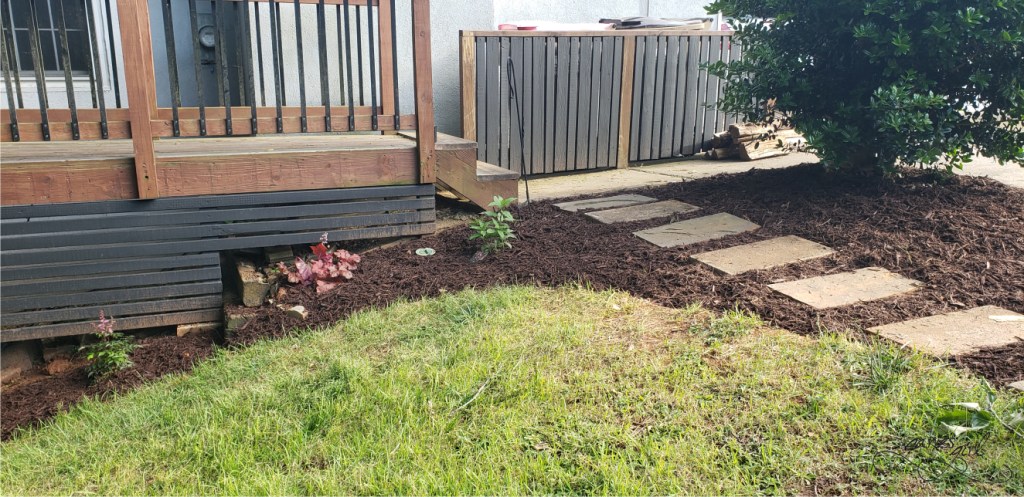
And here is a view from further away, where you can see the horizontal pieces I added to the main deck last year, as well as my new flowerbed:
More Leftovers
Of course, when all was said and done, I STILL had some short wood pieces left over. So we bought some 1×2 – 36″ wooden grade stakes at Home Depot and built two smaller fences. Originally, I used them to provide shade to a newly planted hydrangea, but I picked the wrong spot for this plant and it didn’t make it.

So I used the fences elsewhere. First to hide some yard debris in the back yard, then by the front patio during Halloween and Christmas, and now to provide a visual break next to our vegetable garden. Maybe I need something more permanent here. Like a bigger fence. Wonder what Pieter would say…