Our new house didn’t have a garage, but it had a large storage space, with an attached bathroom and a carport, all under one roof. We lovingly called this our Pool House.

Now the bathroom in the Pool House was a horrible little room. It had a shower, toilet and small sink cabinet that was falling apart. Also, it had carpet on the floor!!!! It was not laid out very efficiently. Instead of putting the shower in a corner, it was installed in the middle of the wall facing the party area, which left an awkward (spiderweb-filled) space to the left of the shower, and both the sink and toilet squeezed together to the right of it. It was just not a room I felt comfortable “using”.
Fixing up this bathroom was going to be our biggest DIY project so far.
The Plan
The carpet had to go, as well as the shower. We actually needed an outdoor shower instead. The rest of the space in the room was going to be used to store random pool accessories such as towels, pool noodles, lilos, etc.
I might have mentioned that we’re not comfortable trying our hand at any plumbing jobs, but lucky for us, David was. He worked as a plumber when he was younger. And it was cheap labor (family members usually are)! We paid in bacon-themed food and access to the pool 😉
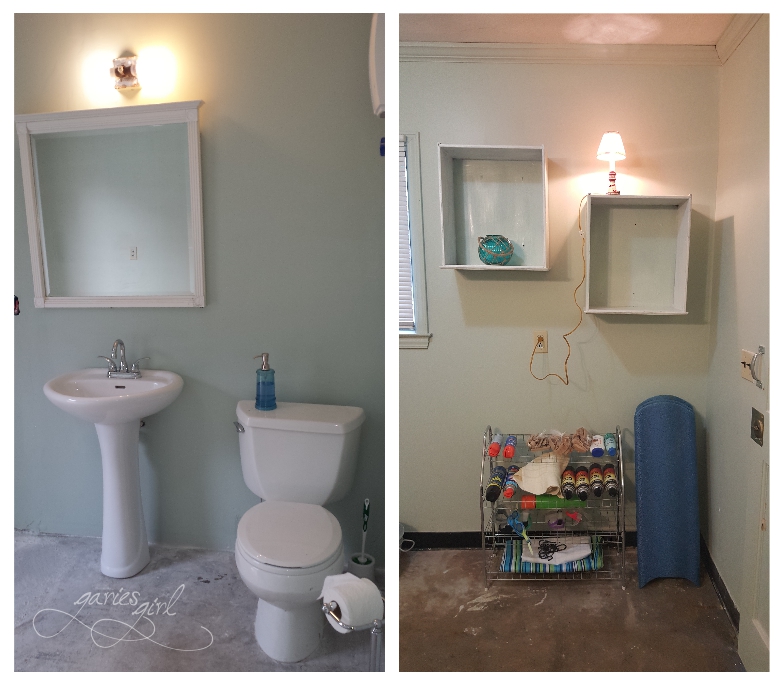
Here is the layout before and after:

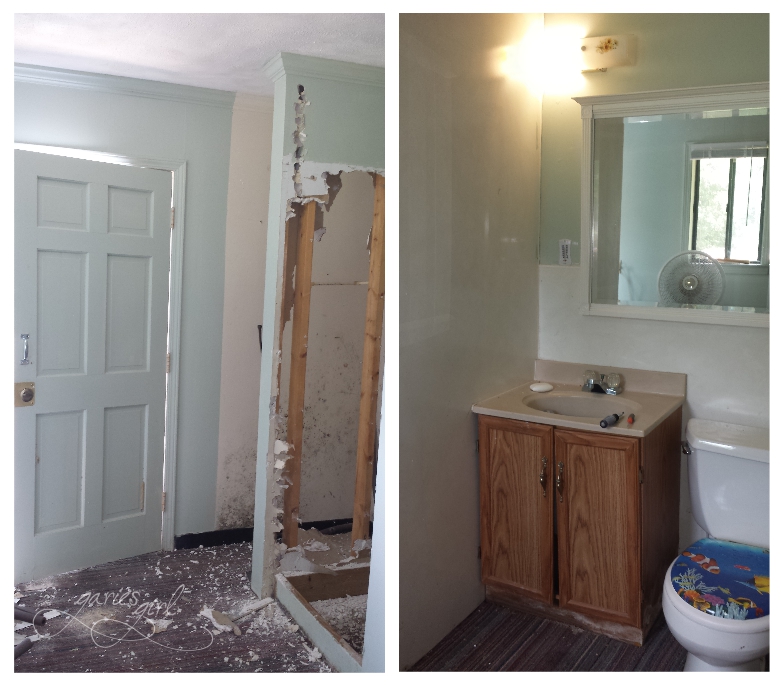
Demolition
We got busy removing the shower and all the drywall on that side of the room. While it took quite a bit of elbow grease to break up the shower unit, the sink cabinet came apart almost immediately. The carpet came up as well and we were left with our much needed blank slate.
Check out the original fancy toilet seat!
Rebuilding
David moved the plumbing for the old shower over to the side wall, next to the outside door, and after a quick trip to Home Depot, had a new shower installed on the outside. We kept the toilet in its original spot but installed a new pedestal sink a little to the left of the original cabinet’s location. This gave us a little more room between the toilet and the sink.
Next up was drywall, and this was a lot of fun (not!). I never realized just how tough this type of job is in the middle of high summer.
By the time the next weekend rolled around again, I was on the tape, mud and sand step. David, Ilse, and their friend Christine, all got their hands (faces, hair, etc) dirty and helped me to get this done.
Finishing the Space
I found an old can of paint in the storage room that was leftover from when the room was originally painted. It was a nice shade of light green and I used almost all of it for the new wall section. One coat (!) was all it took to get full coverage. It was good quality paint, is all I can say about that.
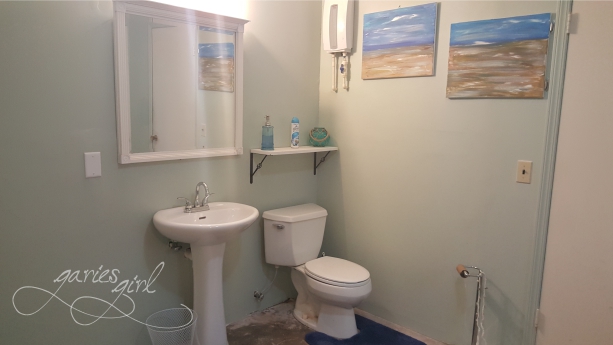
I reused the old mirror since it fitted the space nicely and already had a painted white frame. This went back in the spot above the new sink.
I had shelving pieces left over from my laundry room project and picked up a couple of additional brackets to construct a new shelf above the toilet.
Hiding the Electrical Panel
The Pool House had its own electrical panel, and it was located right in the bathroom area of the building. We did not want to mess with anything on the electrical side, so I opted to make it less visible – I was going to hide it! I got two blank canvases from Walmart, and with just a little bit of paint (and imagination), created two original pieces of SJ art for the wall. I added hinges to the one piece and installed it right over the electrical panel.

DIY Shelves
On the fourth wall, I reused two drawers that I kept when I removed a built-in desk from the dining room. I removed the handles and installed the drawers upside down as shelves.
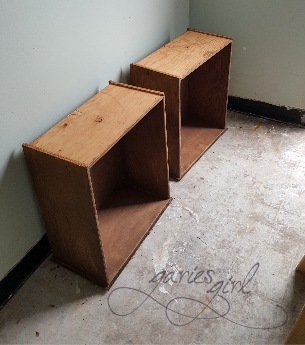
I had just enough wall paint left over to cover them as well, and just like that, more instant (and free) shelves.
We decided to leave the concrete floor “naked” for the time being.
This pool bathroom underwent a huge transformation and was now a room for my guests to enjoy! Ok, maybe enjoy is not the right word…
Next on the project list – Updating the Exterior!

One thought