Yes, this is not a How-To post – surprise! We messed up a little and I thought I would try something different and give you the How Not To version of events.

The Problem: The faucet in the kids’ tub was leaking. Not too bad, but just enough to be annoying.
My Solution: Replace the faucet. I did some research which led me to believe we can just replace the faucet. Sometimes they just start leaking, you see. Well, Pieter checked and didn’t agree with my diagnosis. According to him, we needed a whole new valve controller. Water can’t get to the faucet without passing through the valve, and if it doesn’t close all the way it will cause a constant drip.
Pieter’s Solution: Install a new valve controller. This made sense to me so we agreed to shop for a replacement valve controller to fix our leaky faucet.

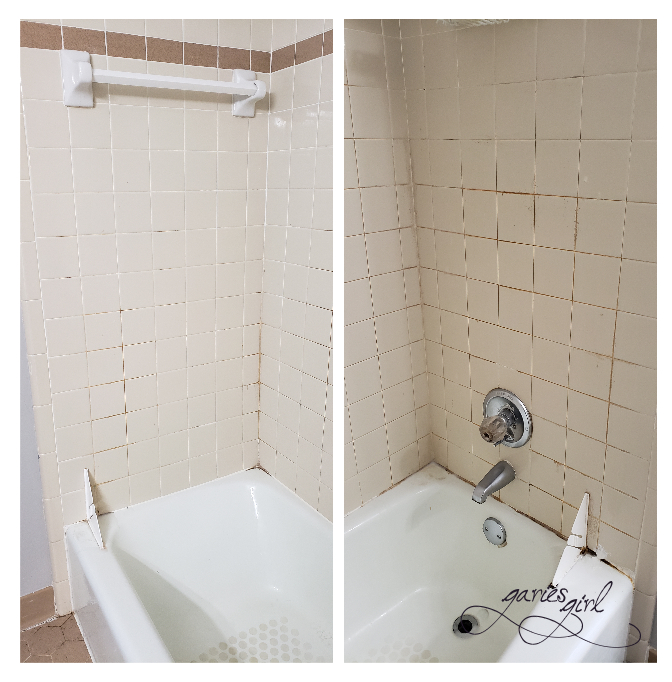
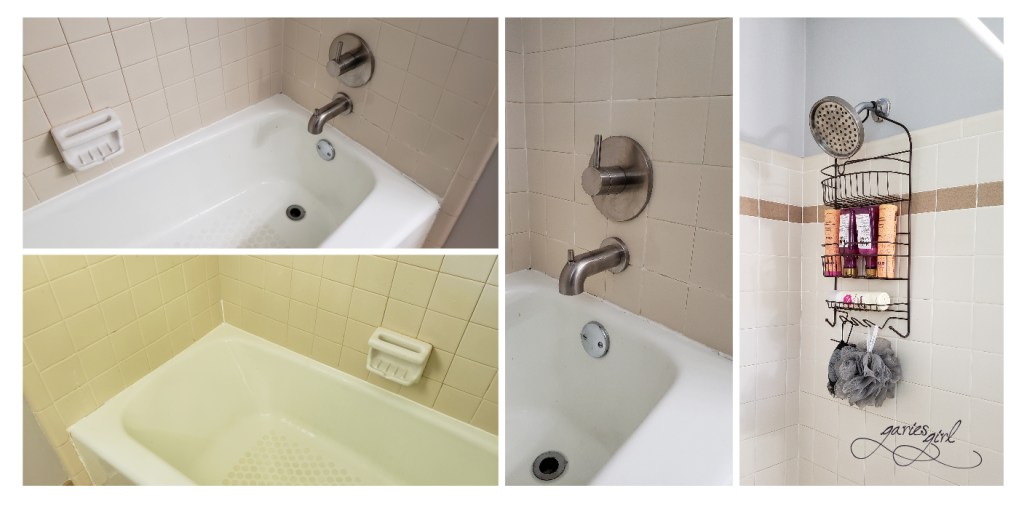
Here is a picture of the tub/shower area before we started working on it. As you can see, the grout is very mouldy and also needs extensive cleaning!
It was Sunday and Pieter’s day off from work, so after a lazy morning, we decide to fix our leaky faucet. And this is where we made some mistakes and our whole project went wrong…
PLUMBING PROJECT – DAY 1
MISTAKE #1: Starting the project at 2pm. Anything plumbing-related takes time. That is just a plain old fact. You have to create access and take apart old fittings. Throw in a trip (or six) to the hardware store, and you have even less time for the actual project!
MISTAKE #2: Not researching the parts needed. There are just so many options in all of these big box hardware stores. We were browsing the correct aisle but just couldn’t find the correct replacement part. What we were trying to replace was just so old and outdated, that you couldn’t find the replacement parts anymore. We had to change our plans and buy a newer type of valve controller. Of course, it came as a set and included a shower head and a faucet. And of course, this made us realize that the sink faucets won’t match, so we bought two of those as well.
While in the store, I did pick up two outlet covers and a new toilet fill valve kit. Did I tell you that the toilet was also leaking? Guess not. Oh, and on the way out, we saw some snazzy solar lights which would look great next to our front path, so those came home with us too. Can you say, impulse shoppers?
- New Shower Fittings: $139
- New Sink Faucets: $112
- Toilet Fill Valve $18
- Outlet Covers $4
- Solar Lights: $56
MISTAKE #3: Not checking the box in the store. We got home and only then noticed that our shower fittings box had been opened before. When we started going through the instructions and item list, only half of what was listed was in the box. So I packed up the box, got in the car and drove all the way back to the store to return it and get another one.
MISTAKE #4: Not clearing out all the items from the cabinet, closet and bathroom before starting work. Plumbing work is done in tight spaces. And Simon was going to be helping, so we were going to be three people working in the bathroom simultaneously. While I went to the store to return our opened box, Pieter started work in the cabinet and was trying to do so without removing any of the items! It was just not going to work… When I got back, I had to work around and over him to quickly get things out of his way.
MISTAKE #5: Not starting with the initial problem area. Our problem was in the shower. We skipped that though and started with the sink faucet replacement, thinking it would be easier and would go fast. However, we couldn’t remove one of the old faucets. It was stuck in there! When we looked closer, it appeared that one of the nuts holding things in place was a bit rusted. Pieter tried, Simon tried, and even I tried to loosen that rusty nut, but just couldn’t budge it. Now, for me to squeeze into the space in the cabinet took some acrobatics! And when you are all the way in, you just can’t get to the spots where the work needs to happen. It was quickly obvious – I’m not built for plumbing work.
We kept working on that last stubborn nut and at some point, we even considered breaking the countertop to get the old faucet out! Of course, besides a new countertop, that option would also have involved replacing the mirror. Talk about a project snowballing! A quick Google search revealed that a new countertop with two built-in sinks started at $700 so that idea was scrapped very quickly. It was just not in the budget. As a last resort, Pieter looked around in the garage and found some rust remover spray and this did the trick. He was finally able to get the last nut loose to remove the old faucet.
Of course, now we realized the old faucets were permanently fixed to the copper water pipes and we would need additional fittings to complete our water connections… Back to the store.
MISTAKE #6: Going to the store mid-project. We headed out to go pick up some faucet connectors for the water supply lines, and also what we thought we needed to fix the original shower issue (which we haven’t even touched yet). By the time we got back home, we had spent another $126.
MISTAKE #7: Checking ALL of the project steps before shopping. So after returning from the store with our faucet supply connectors, we got right back to work attaching those. Once they were in place, we removed the first drainpipe and tried to replace it with the new one. This is when we realized the new drainpipe is slightly smaller and doesn’t fit into the larger p-trap! We now needed an adapter or a different drainpipe or something that we don’t have here at home and will have to make another trip to the store for…
MISTAKE #8: Shopping while frustrated. By this time we were frustrated and tired and wanted to be done with this project. So without being 100% sure what we needed, we just bought as many possible solutions and hoped at least one of them will work. On this trip, we spent another $110.
MISTAKE #9: Leaving the water main off for too long. Since we couldn’t find a solution for the ill-fitting drain pipes, we abandoned the sink faucets and started removing the shower fittings. Before long, we realized that this was indeed not a quick or easy fix and that it was time to “throw in the towel”. It was now 8 at night and our water has been turned off since 2pm. I already abandoned the plumbing project an hour earlier to cook dinner using bottled water and what water was left in the kettle.
Nothing has been fixed, the hallway was a cluttered mess and all old plumbing parts have been thrown into the trash. If we wanted to be able to use at least one sink and the shower, we would have to put the old fittings back. So I dug through the trash for parts and Pieter made sure one of the sinks was usable.
MISTAKE #10: Placing bathroom contents in the hallway. When I hastily removed all items from the cabinets and closet I placed them in the hallway, on our bed (towels) and in the laundry room – basically wherever I could find an open spot. This cluttered up the path to the garage which was used constantly as we needed a different tool or had to go to the store (!). Since nothing could go back into cabinets, I needed to find temporary storage for all these loose items, tools and plumbing parts. I needed my bed empty so we could sleep that night and I needed the hallway clear so that nobody tripped and hurt themselves when using the bathroom.
After everything was stored away temporarily, I still had to clean the bathroom counter, and the tub and put away the remaining tools so that the bathroom could be used over the next week.

End of Day One Accomplishments:
So what did we accomplish?
- By the end of day one, we replaced the faucets of both sinks but didn’t have a drain pipe in one of them. The other sink still had its old drain pipe, so it was at least working for now.
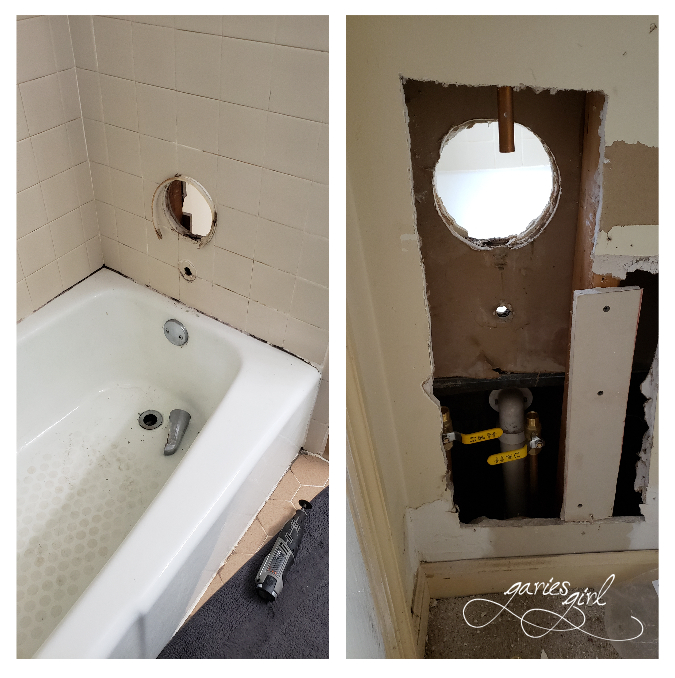
- We had a much larger access hole in the wall between the closet and shower. There used to be a smaller access hole and panel, but we had to enlarge it to see the shower valve and pipes.
- Bathroom items from inside the closet and cabinet were all over the laundry room and hallway.
- We made four (FOUR !) trips to the hardware store and spent a total of $565 so far!
It was time to call in reinforcements.
PLUMBING PROJECT – Day 2 (next Saturday)
We asked David, our brother-in-law, to come to look at our “mess” and help us finish up the project. David had a career in plumbing (many moons ago) and knows a thing or nine. He came by on Friday to check on our efforts and said no problem, he’ll be there in the morning to help finish the project.
The new plan included two shut-off valves for the shower, two reducer washers for the sink drain pipes and some copper couplings. There was another trip to the store ($28) and a trip to his house for shut-off valves ($21) that the store didn’t have. Total spent so far: $614.
I steered clear of the bathroom giving them the space they needed to work. The main water supply was turned off and David installed the two new shut-off valves. Once they were in place and checked for leaks, we could safely turn the main water supply back on.
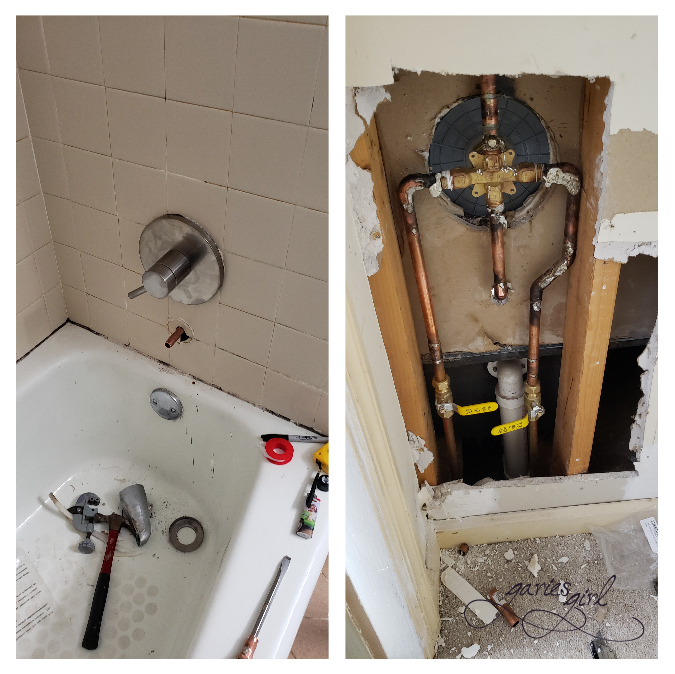
Between the two of them, they removed the old valve control piece, assembled the new one, installed it all and added the new faucet and shower head. And of course, added the new sink drains with their reducer valves to make them fit the existing p-traps. This completed the faucet update for the two sinks.
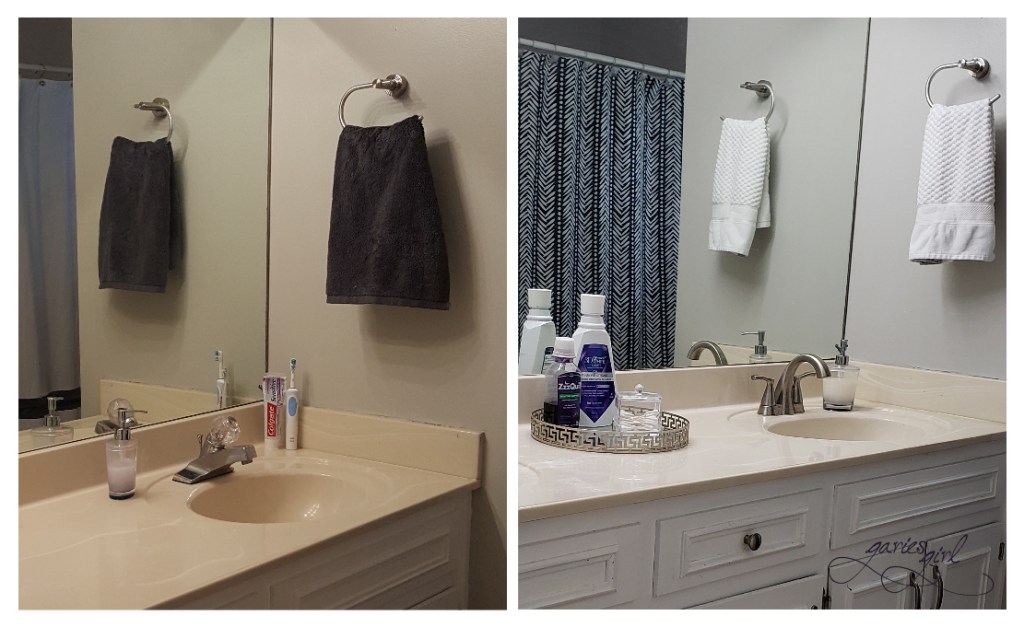
Once they were done, all that remained for me was to clean up and pack away all of the tools. And of course, move all the random bathroom items back into the closet and cabinet. Since the bathroom was empty, I used the opportunity to put down shelf liner in the cabinet and properly clean the mouldy grout along the tub. I found a great cleaning tip online and it works amazingly. Just look at the before and after!

A sixth trip to the store was needed to return all extra plumbing items. At least that is easy in this country! Our final cost to “fix a leaky faucet” came to $325 (yes, I didn’t count the solar lights, cover plates or toilet valve), which means in the end we only spent $251 on new fixtures and $74 on parts and tools!
Now that the bathroom is working like it should again (thank you Pieter and David!), it might be time to think about some more updates here. I would also like to
- Repaint the cabinet
- Paint the wall tiles
- Paint the floor tiles
- Paint the countertop
- Update the mirror
- Change the light fixture
Did you have a similar experience with a project lately? I would love to hear about it!

One thought