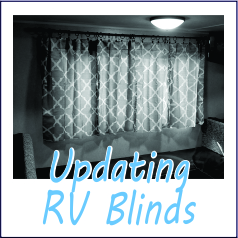
We bought our RV new, and everything on the inside was in excellent shape when we brought it home. Excellent shape, but not a very up-to-date decorating scheme. Why manufacturers used so much beige and brown back then is beyond my grasp.
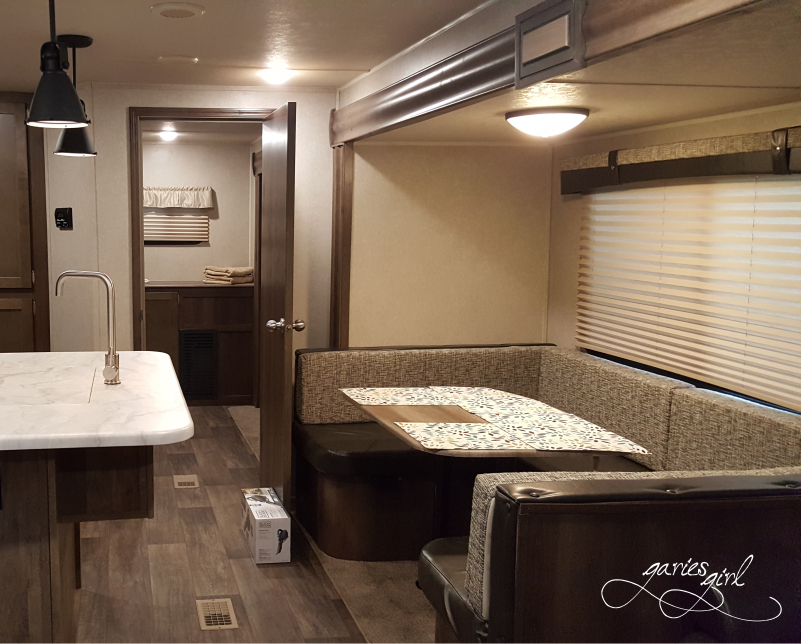
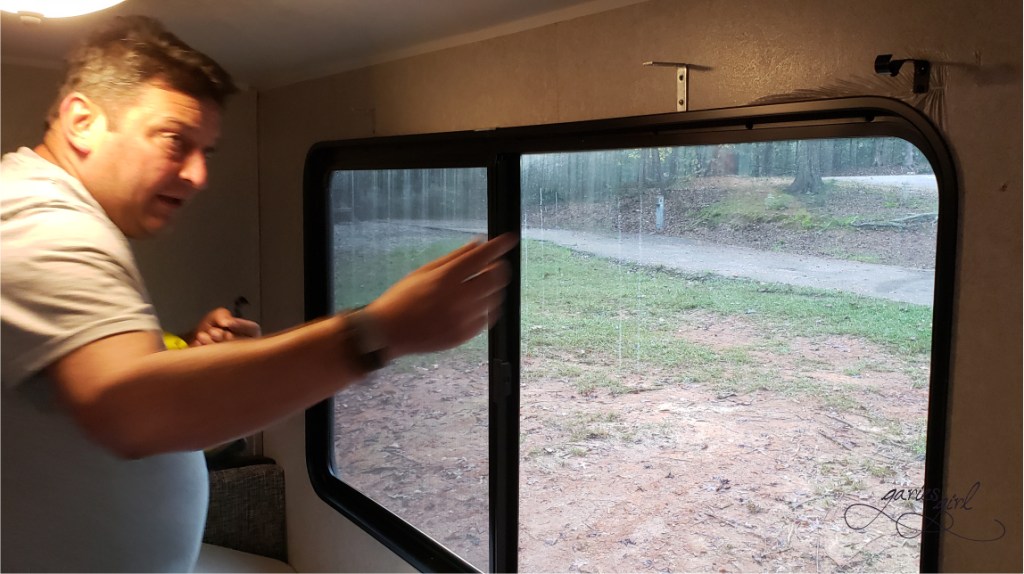
Early on, I decided not to fight this color scheme and just add some pops of color to brighten it up where I could. Adding curtains wasn’t really on the list back then, but after a couple of years, the blinds for our biggest window started giving us problems. It wouldn’t open anymore, and when forced, couldn’t stay open. Which meant we couldn’t reach the window to open or close it. It was time to either replace the blinds or find a new solution.
The Plan
We decided to remove the valances and blinds on that side of the RV and replace them with curtains instead. It took some convincing to get Pieter on board, but he, too, realized curtains would be a better (and much cheaper) solution.
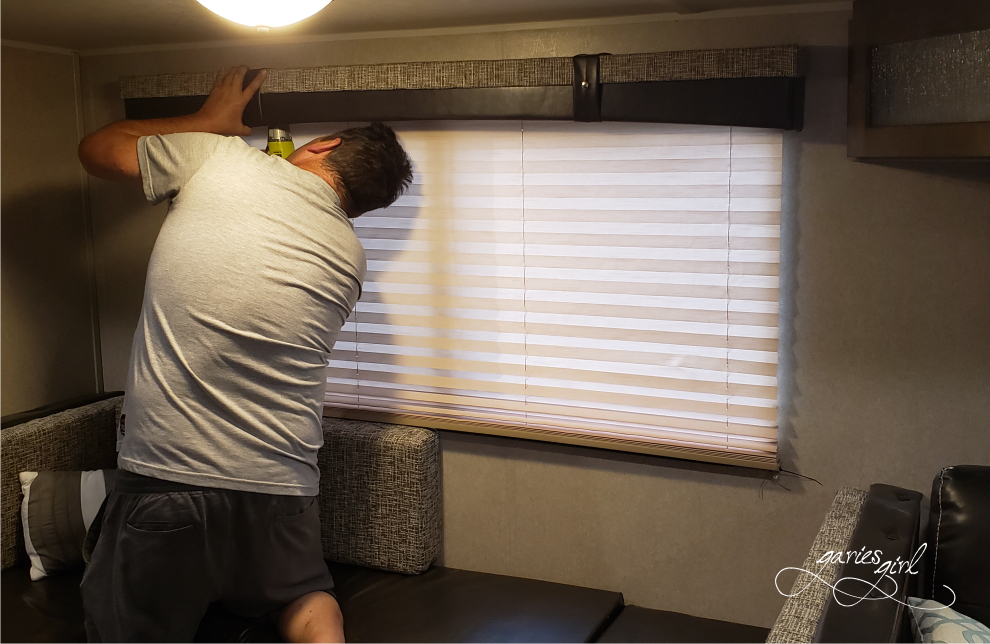
Remove the Valance
The first thing to come down was the valance. The valance was screwed to metal brackets and came down fairly easily. It already looked much lighter with the fake leather/upholstery piece gone. What we didn’t know at the time was that our valance covered up an area of very messy wallpaper installation. There wasn’t a whole lot we could do about it at this point – we had to continue.
Installing the Curtain Rod
We assumed we could use the existing holes and just screw our new brackets into the same spots. Unfortunately, this was way too low for our curtain rings and curtains, so we had to move our brackets up and make new holes. Not an issue – the old holes will be covered up when we fix the wallpaper problem.
Pieter predrilled the holes and used wall anchors to fasten the brackets. The new curtain rod needed three brackets, and once they were installed, the rod just rests on the brackets.
Custom Curtains
I was not in the mood to hand sew curtains from scratch. So I shopped around and found a color and pattern I liked at Big Lots. These were room-darkening curtain panels and would give me a starting point for my new shorter curtains. There are amazing options available online as well. I really liked these boho curtains that were also thermally insulated. You can pick a fun pattern to bring some extra color to your RV spaces.
I measured and cut the panels down, using the finished bottom seam as the top of my new curtains. For the bottom, I folded them over and used iron-on tape to create a new bottom seam.
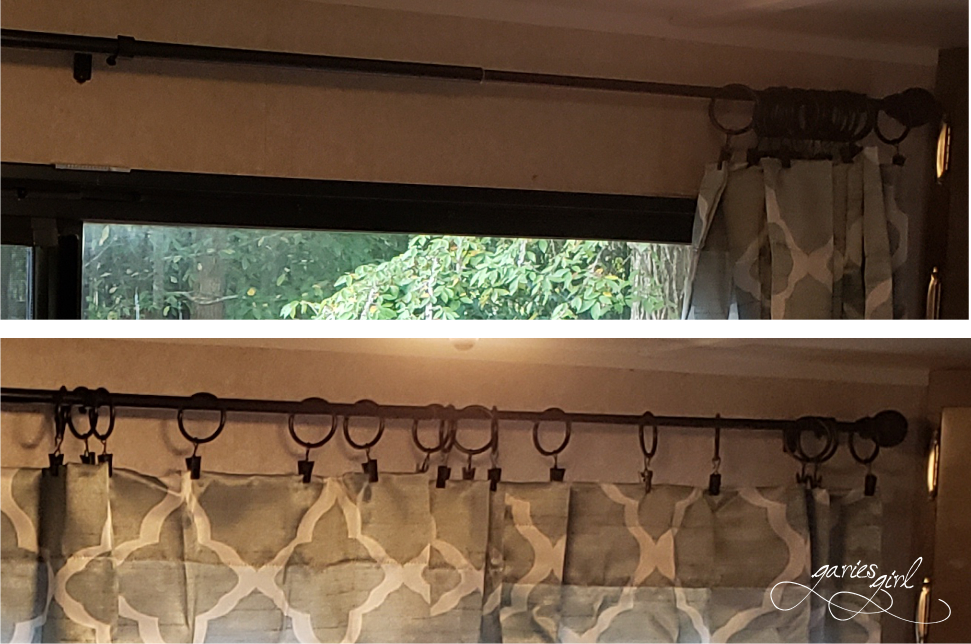
I used Drapery Curtain Clips with Rings and added them to the curtain rod. Once on, I just clipped them to my new curtains. That was really all there was to it. I like using metal rings since they slide open and close easily. Nothing is more frustrating than trying to move curtain fabric over a metal rod when in a hurry.
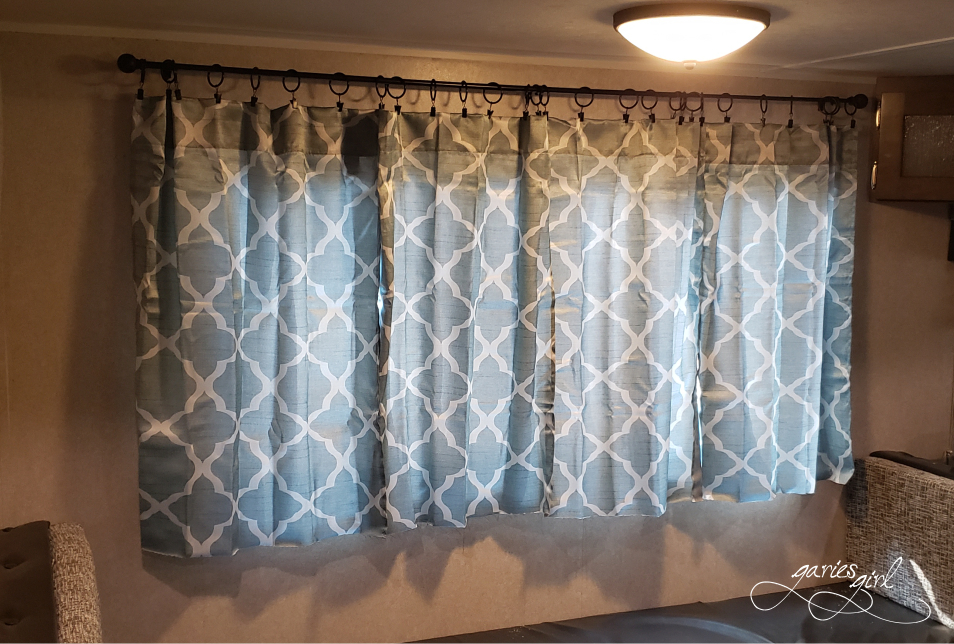
The Final Product
I am very pleased with my new curtains. They still give me privacy when I want it, keep the living room area dark, and provide another pop of color to brighten up the space. As for installation, you can’t find an easier option!
Project Cost
- Curtains – $30
- Curtain Rods & Brackets – $26
- Clip Rings – $36
- Iron on Tape (for seams) – $5
- TOTAL: $97

If you are new to my blog and our RV posts, don’t miss our RV Life – Initial Setup post. It is full of items needed for that first trip in your new RV.
